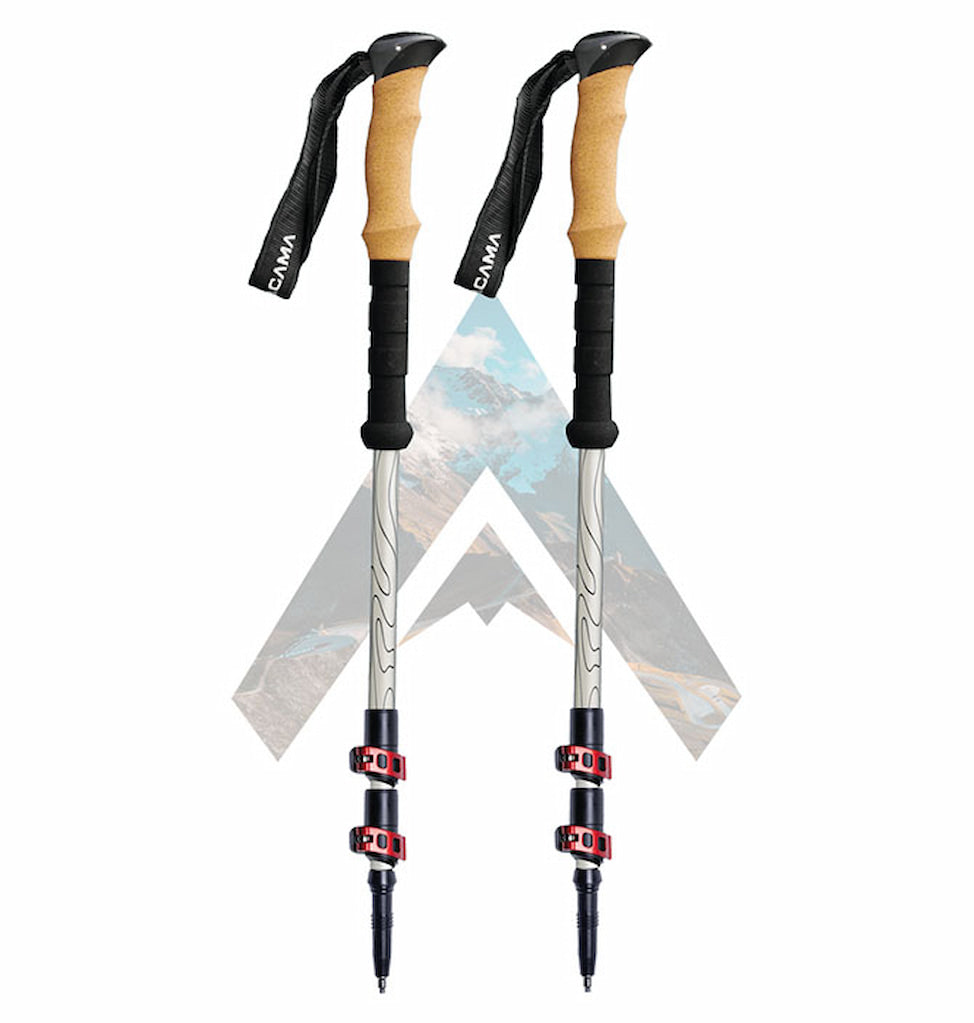
User manual for ALULITE hiking poles
Step 1 - Adjust stick length
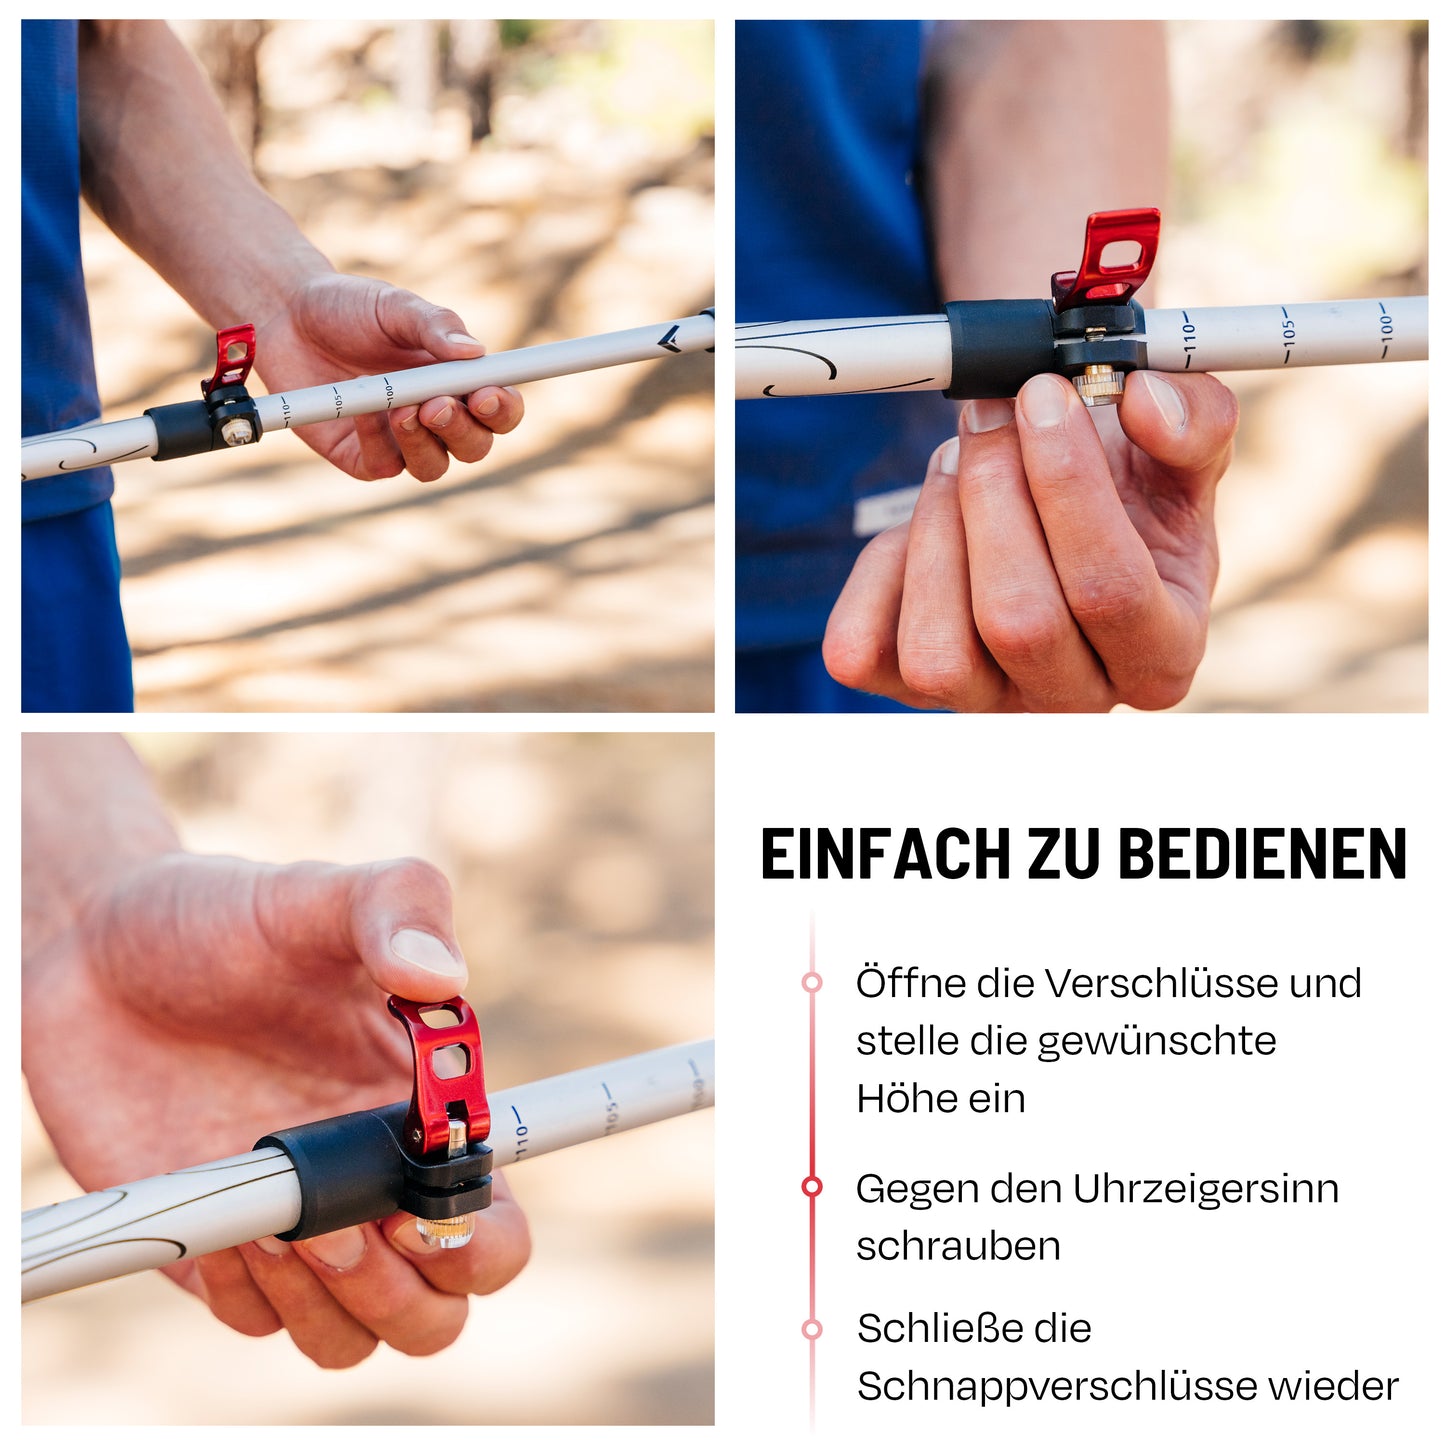
First, the height of the poles is adjusted to the body size. To do this, the flip-lock is opened, moved to the desired height and then closed again. There are 2 options for the right setting:
variant
-
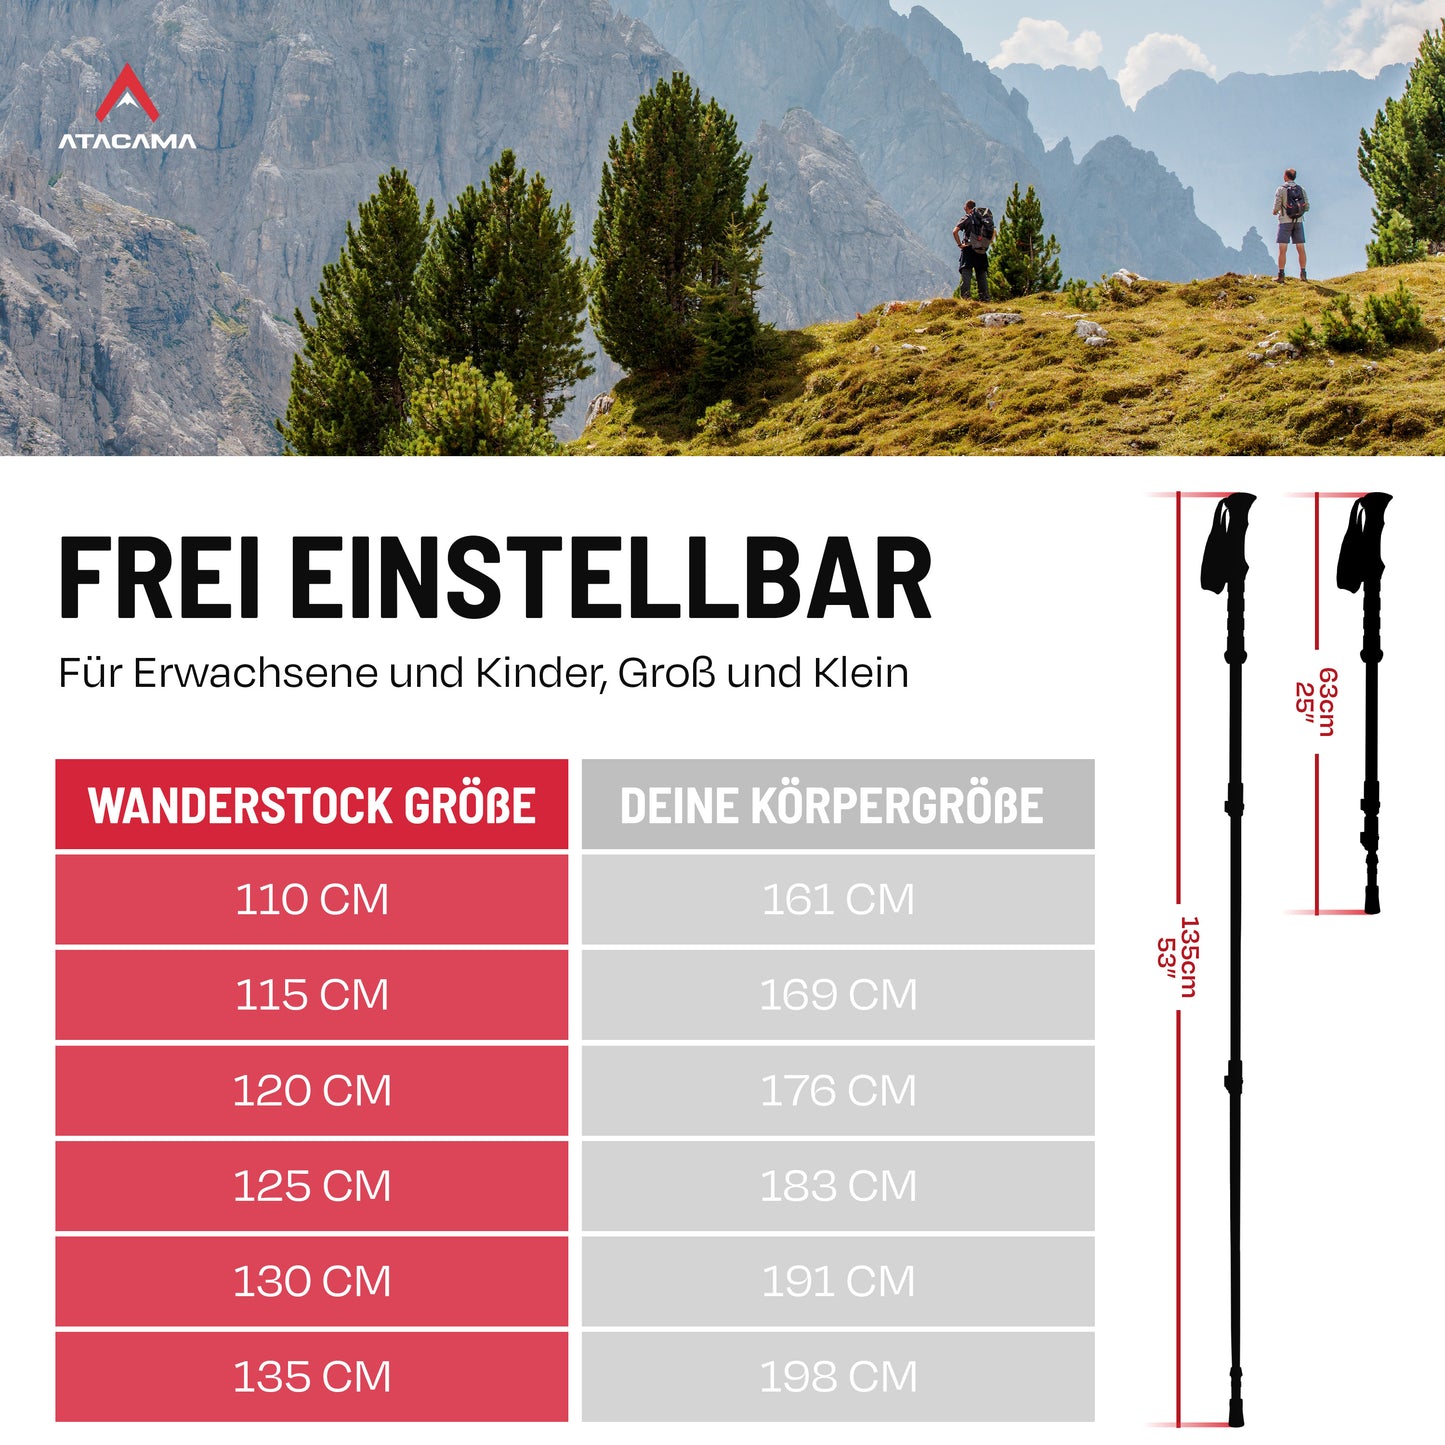
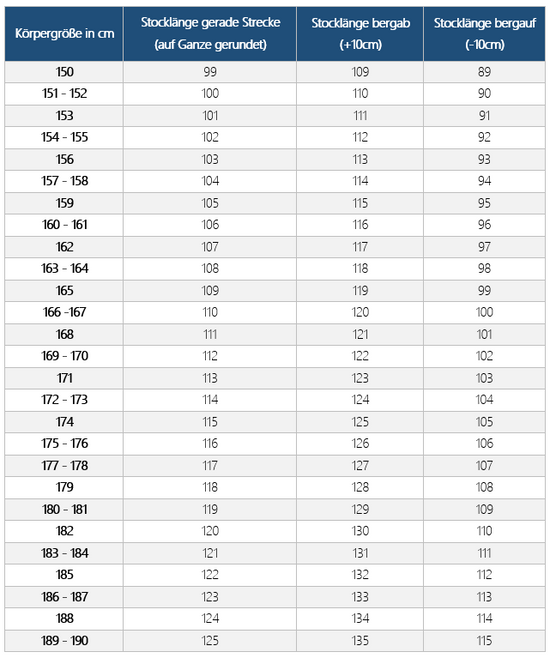
Variant 1: Use size table
With the help of our size table, you can easily read your body size and see which length - from a mathematical point of view - is suitable for you. It is important here that the upper and lower segments are set at the same height .
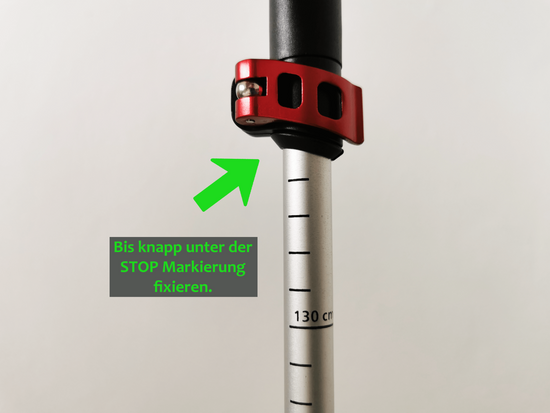
For example, if you are 162 cm tall (including the sole of a hiking shoe), set the upper and lower segments to 107 cm on the measuring scale.
-

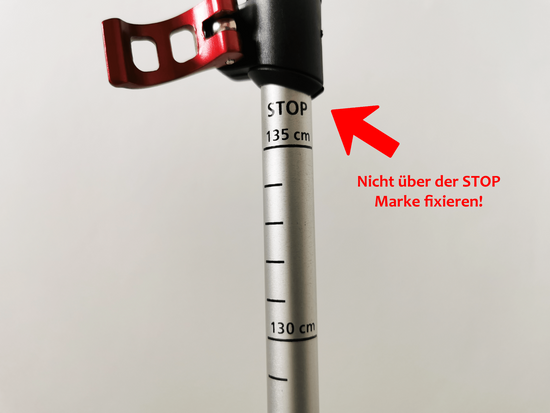
Note: Do not attach above the STOP mark as this will affect stability .
-
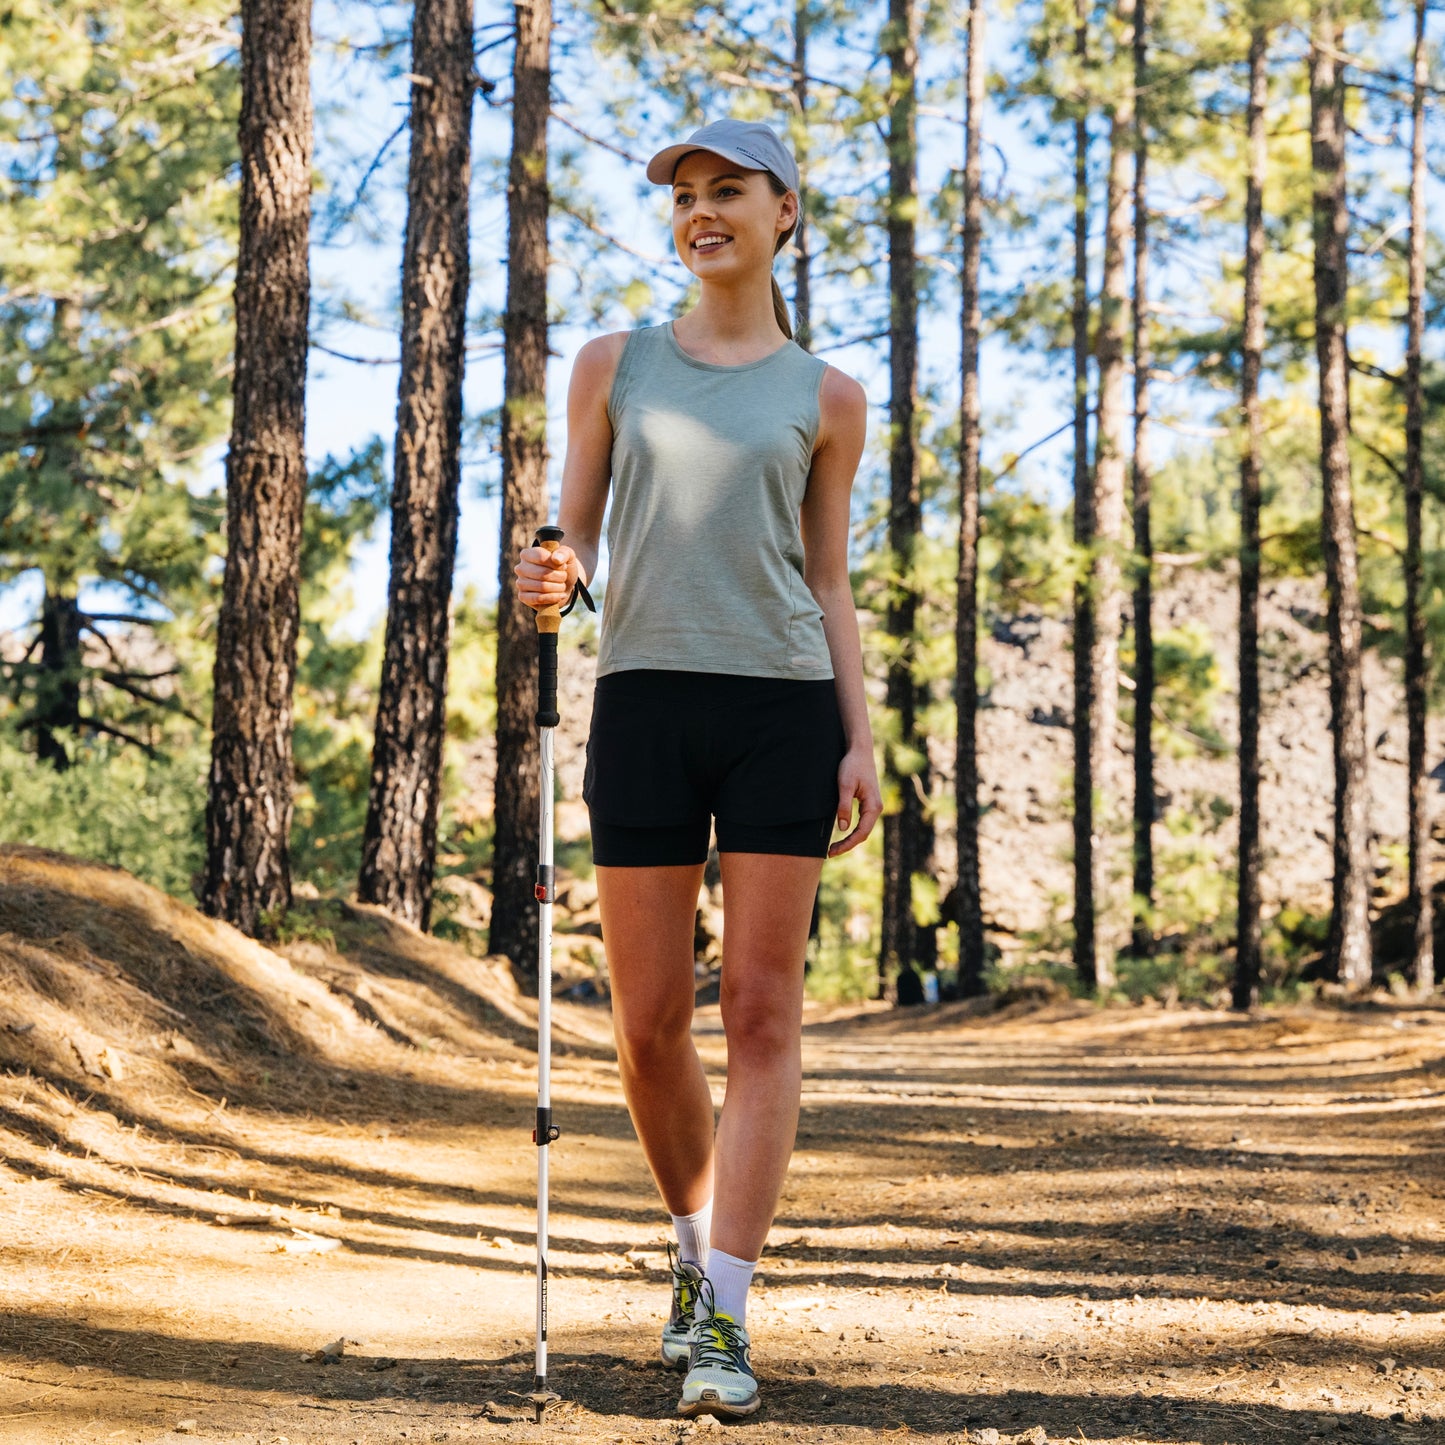
Variant 2: Body feeling or a sense of proportion
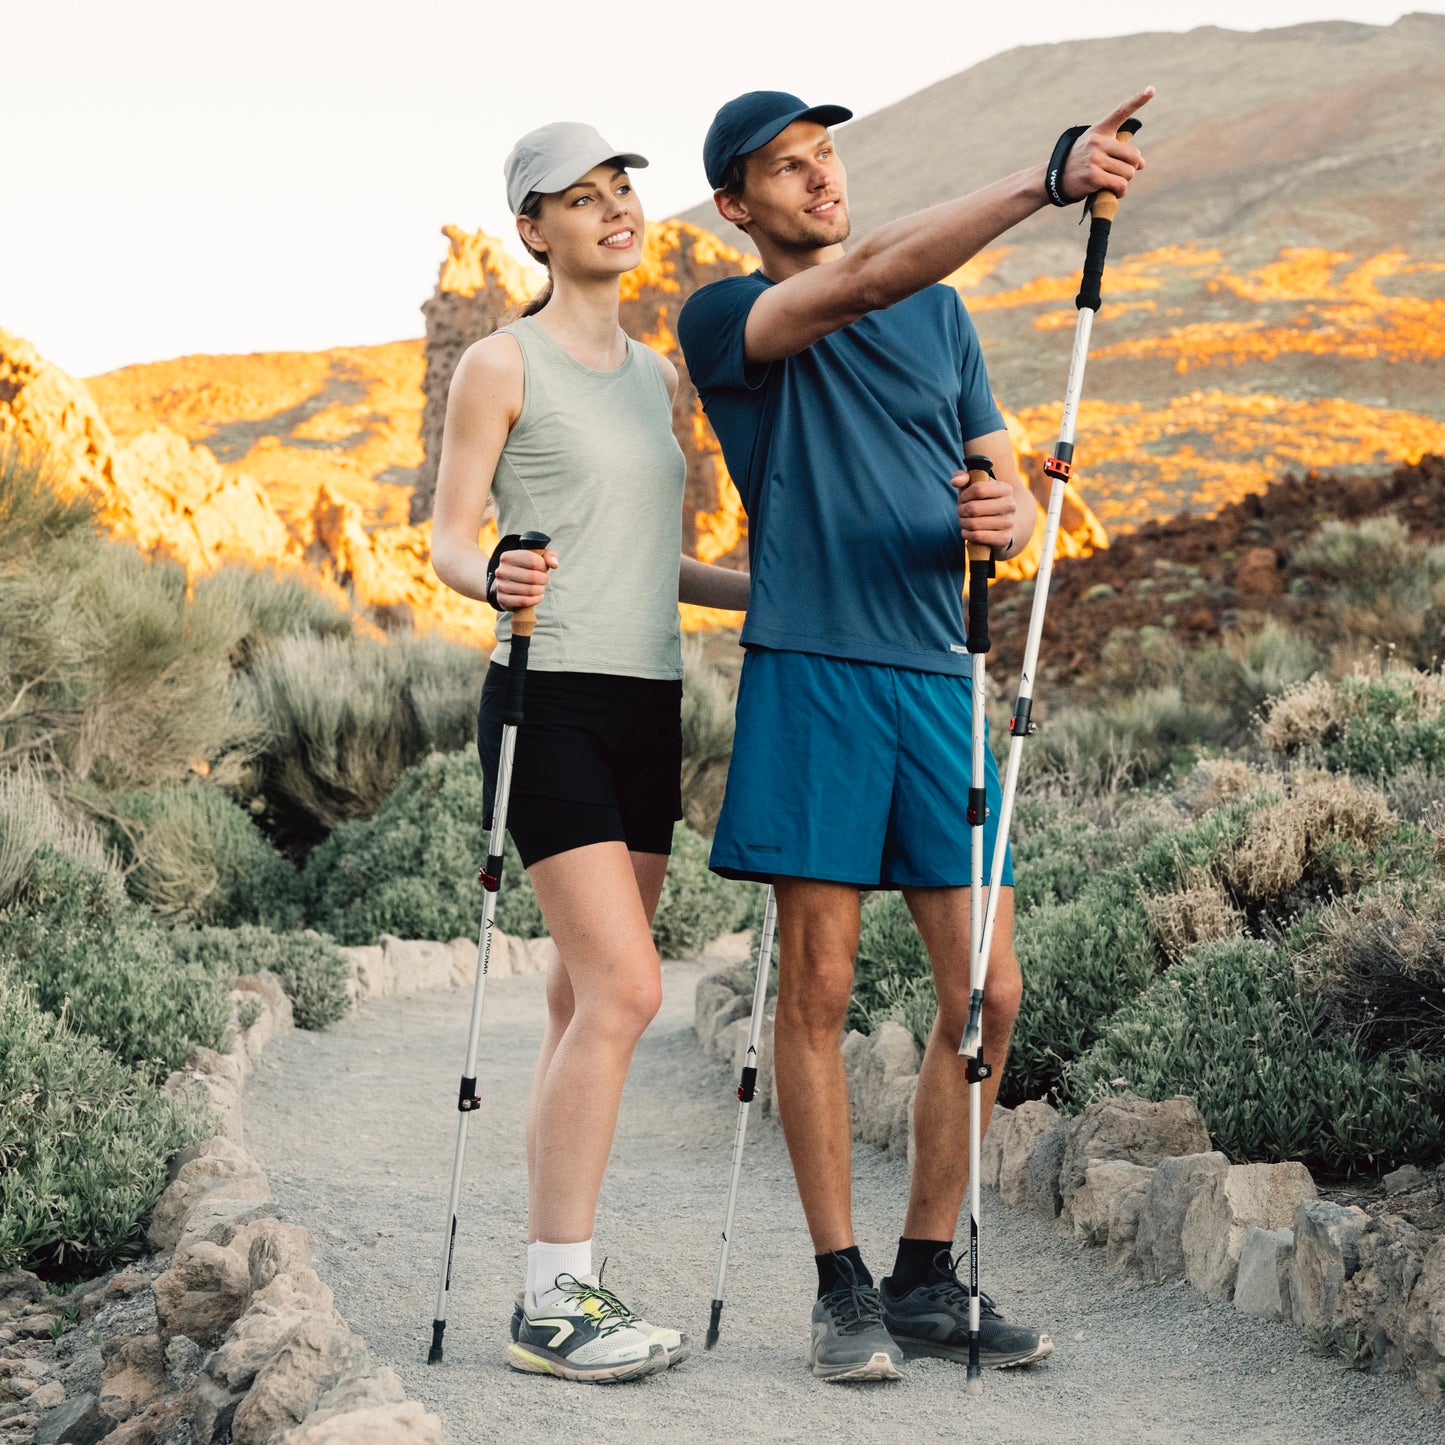
If the size chart is too mathematical for you and you like to work with a sense of proportion, then you can simply adjust the pole so that your arms form a roughly right angle
Size Chart
The stick collapses. What can I do?
Then the slip test is done. You support yourself with your body weight on the stick and see if the stick is pushed together. If so, it can be fixed in 3 simple steps.
-
Step 1
First the flip lock is opened. There is an adjusting screw opposite the buckle.
-
step 2
This screw is now turned slightly clockwise (i.e. to the right). It is important to ensure that the screw is not tightened too much, otherwise the flip lock can no longer be closed .
The buckle should therefore be able to be closed with slight pressure . If I turn the screw too tight, the buckle can no longer be closed or only with great effort and it can easily happen that the buckle housing breaks on the outside.
Of course we don't want that, so a good guide is: If I can no longer close the buckle with one hand, it's probably too tight.
-
step 3
Then test again whether the sticks are holding up well . If not, repeat the process.
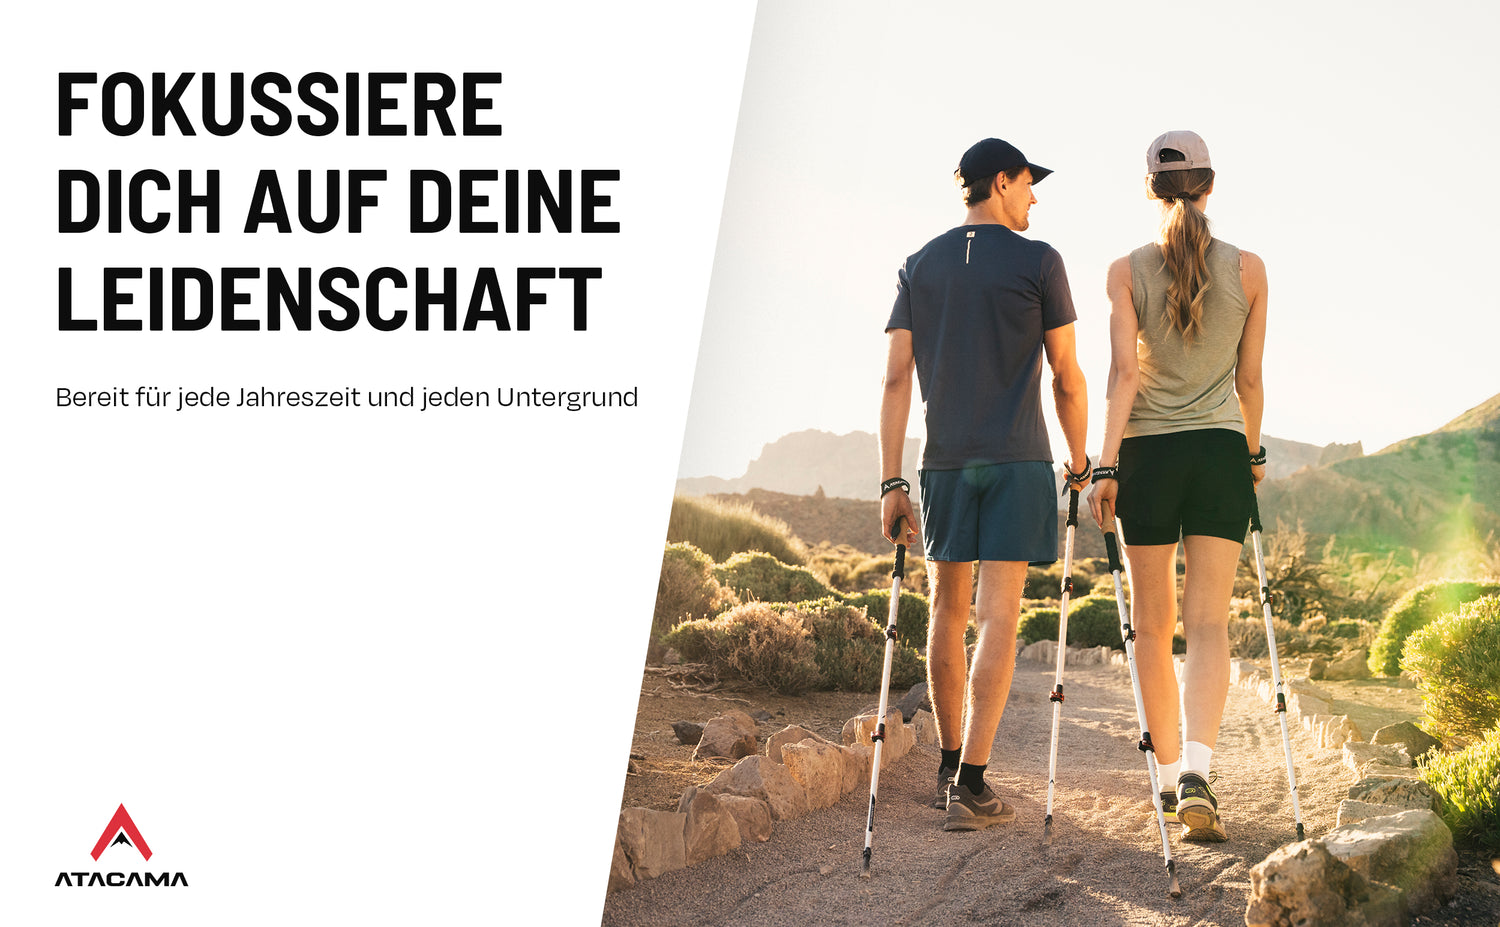
If they last, then it can depend on the season and the surface
the attachment to be changed.
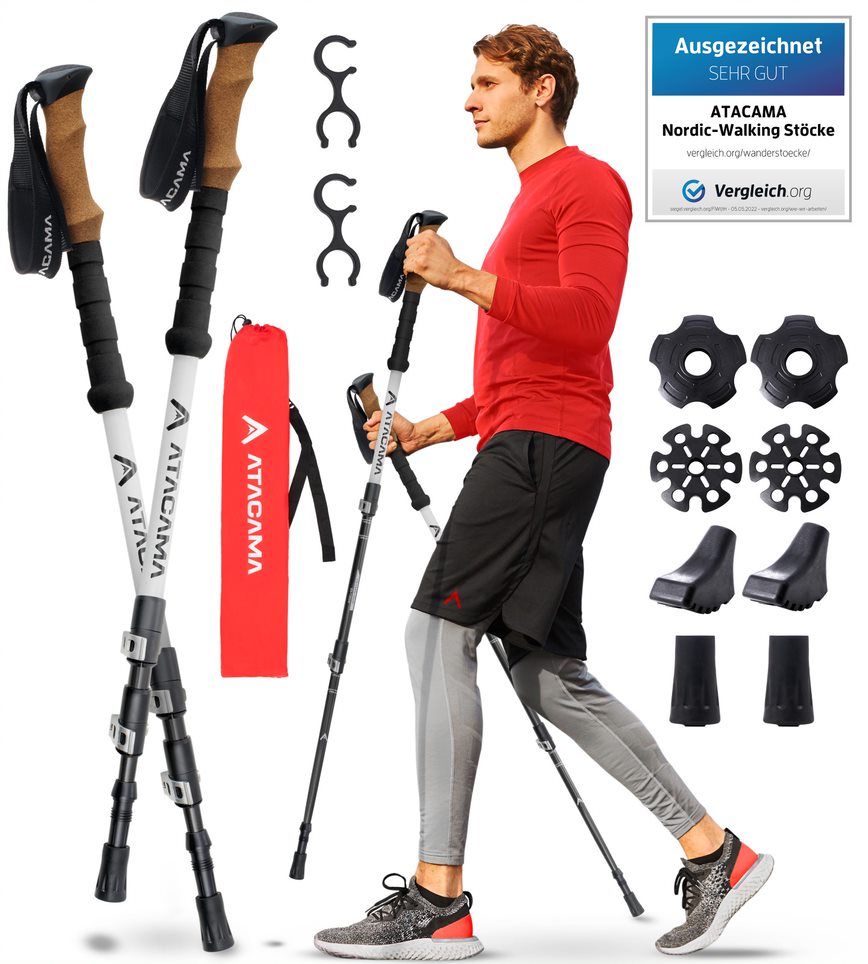
Step 2 - Change attachments
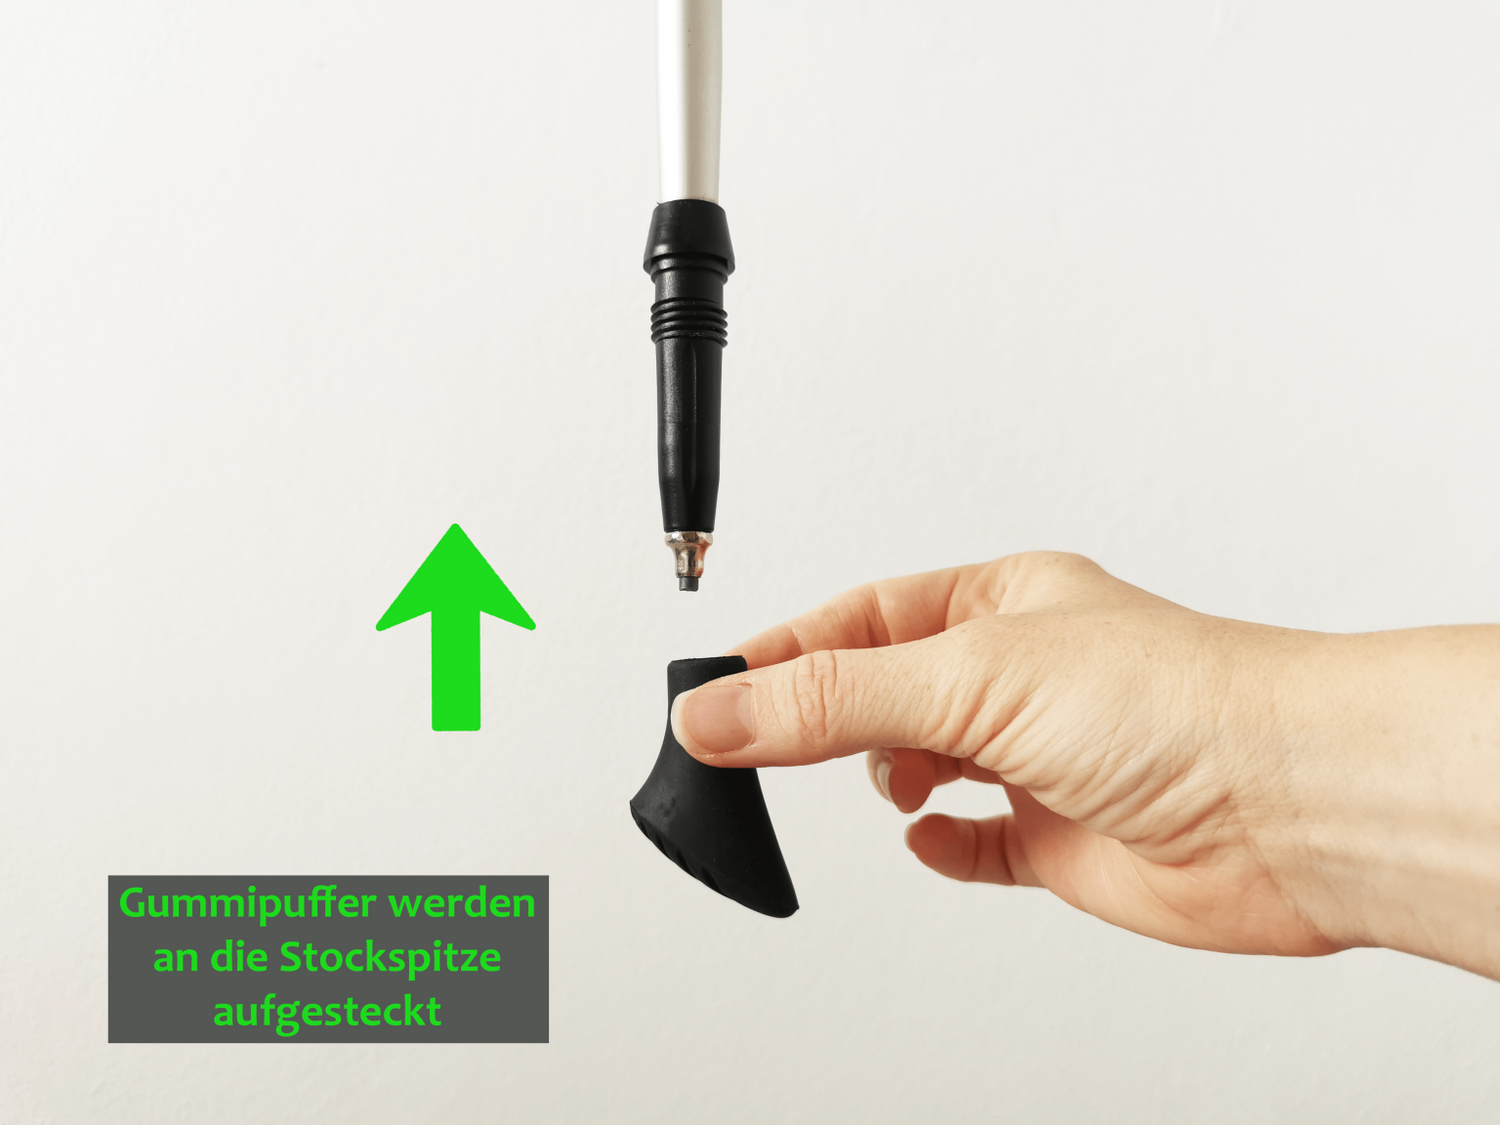
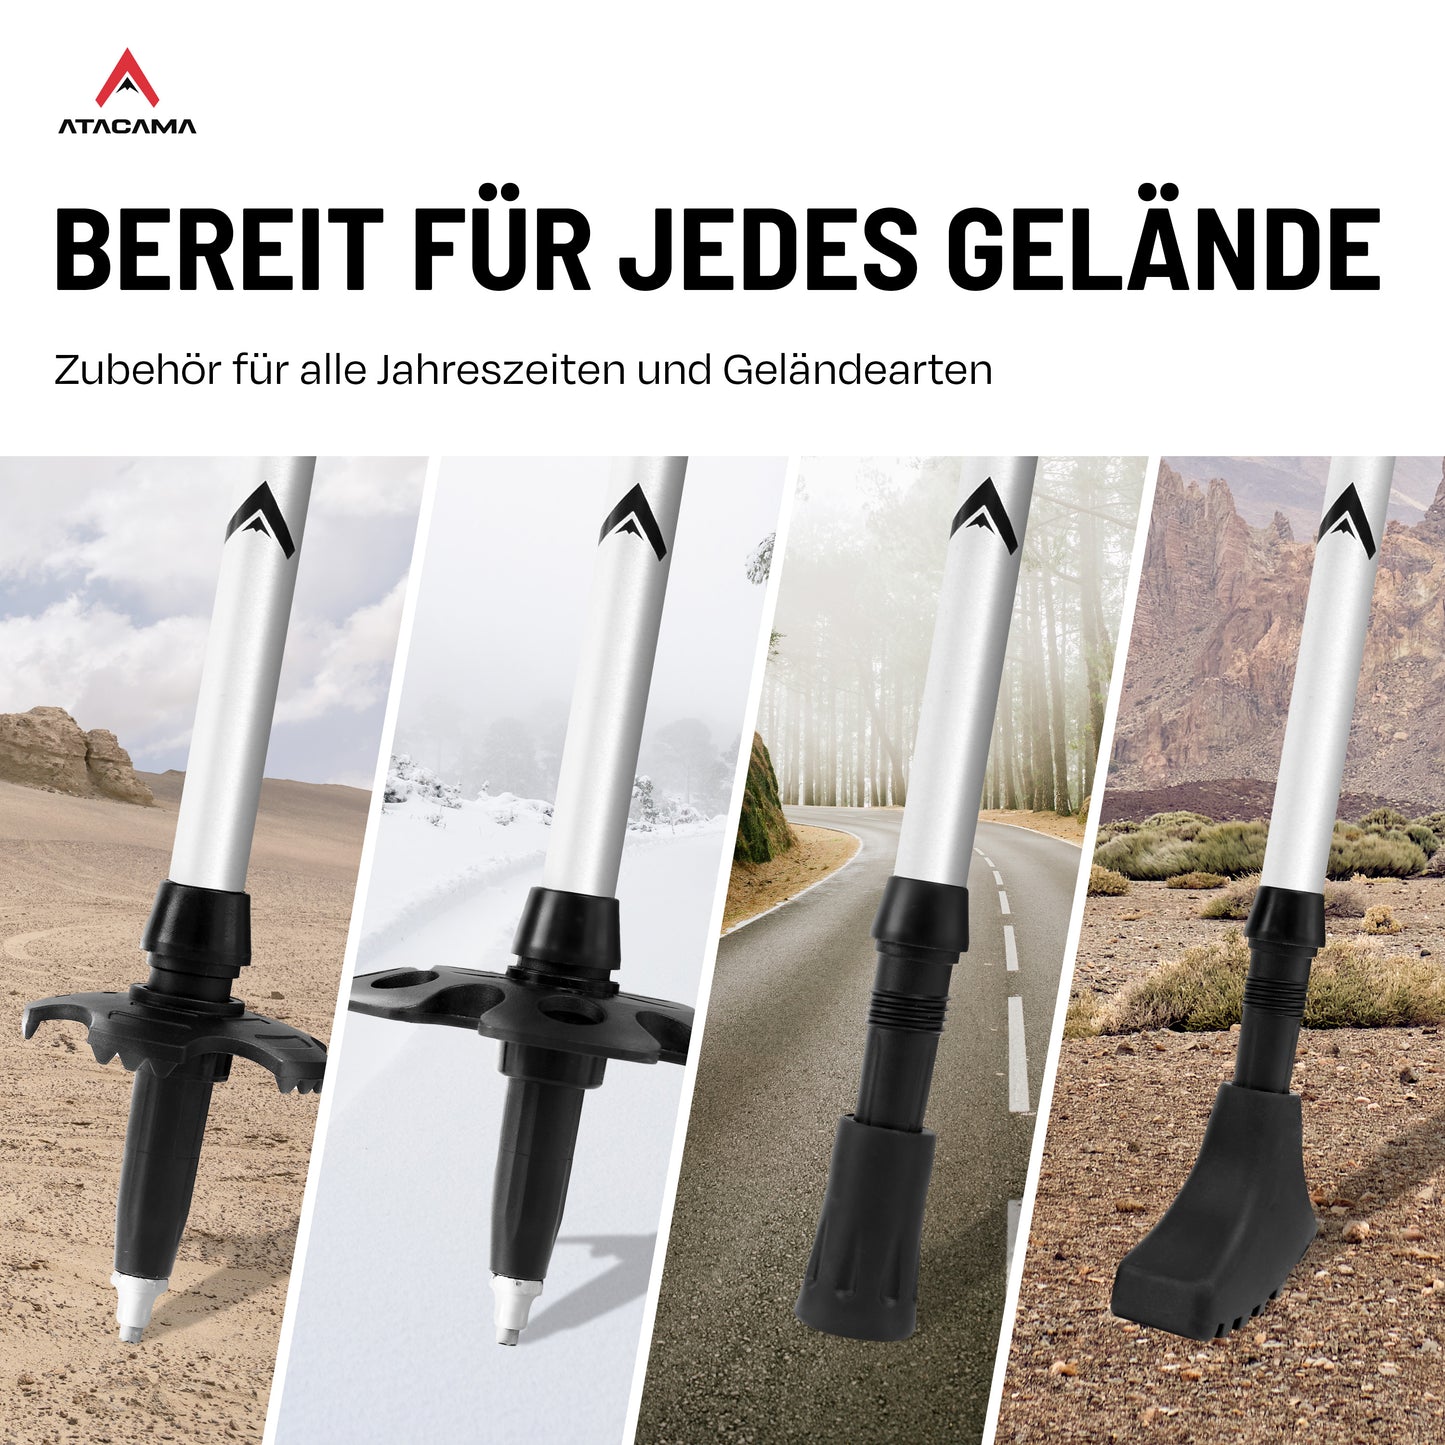
rubber buffers and rubber boots
The poles are fitted with rubber buffers for asphalt surfaces . It's super easy. Simply attach the rubber buffers. And after the trip just pull it down again. The same applies to rubber boots (the slightly wider rubber attachments).
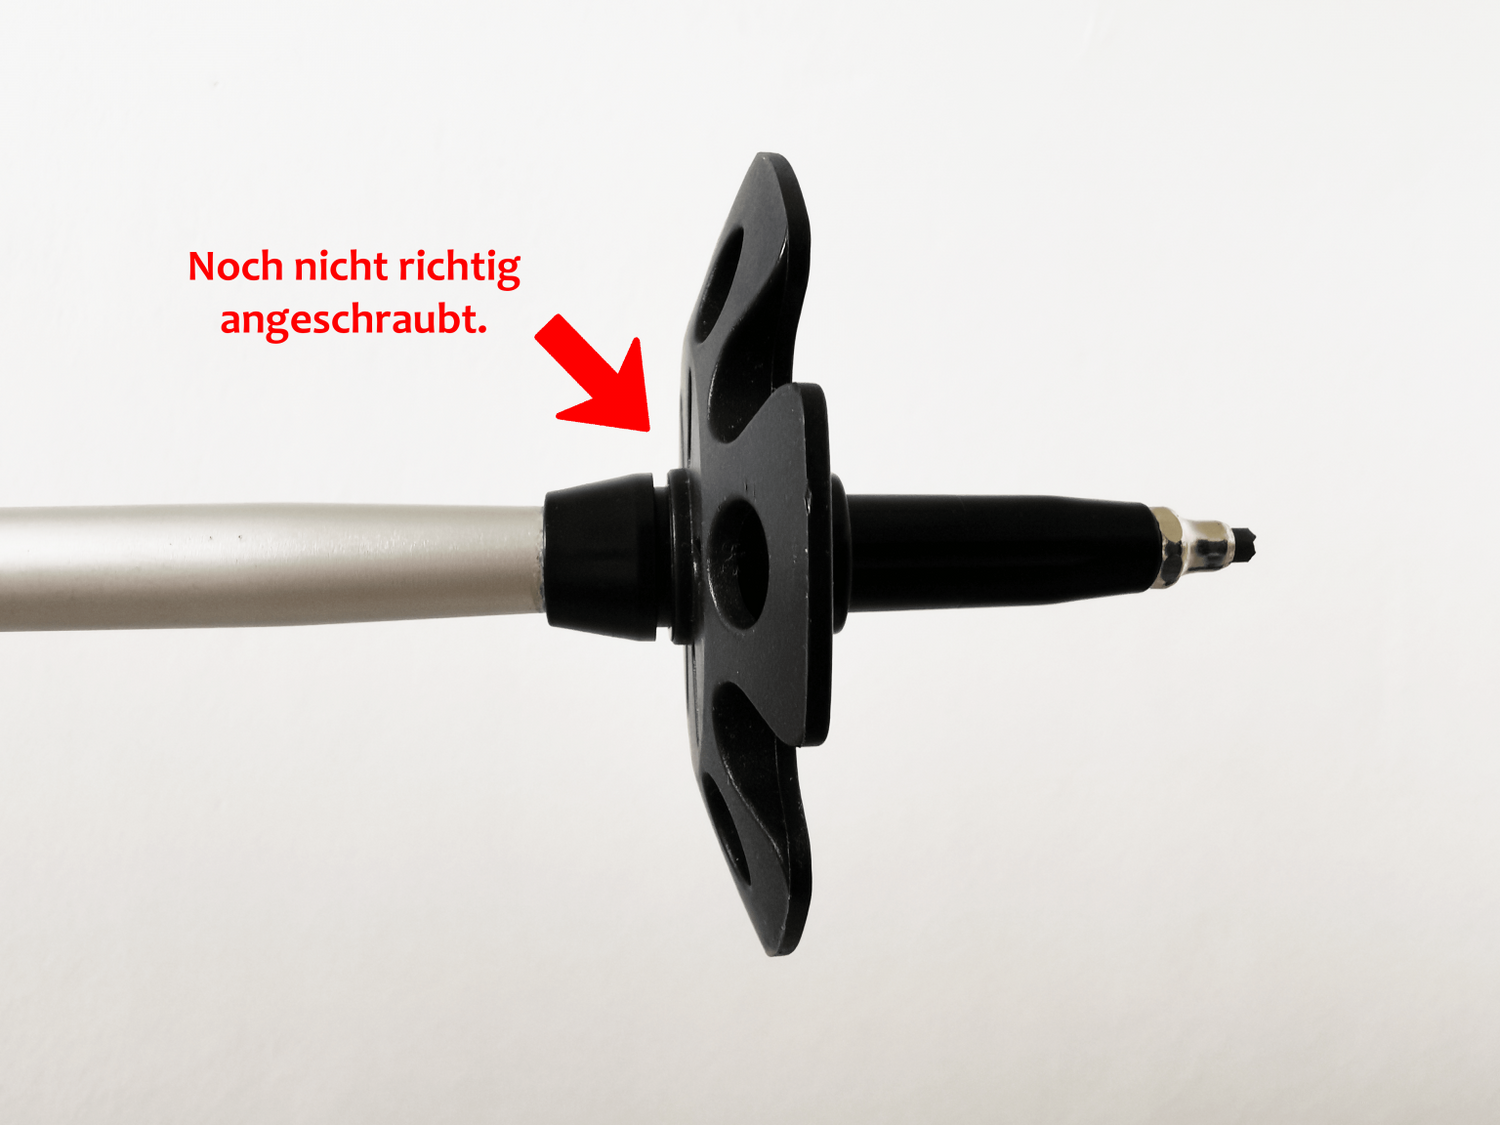
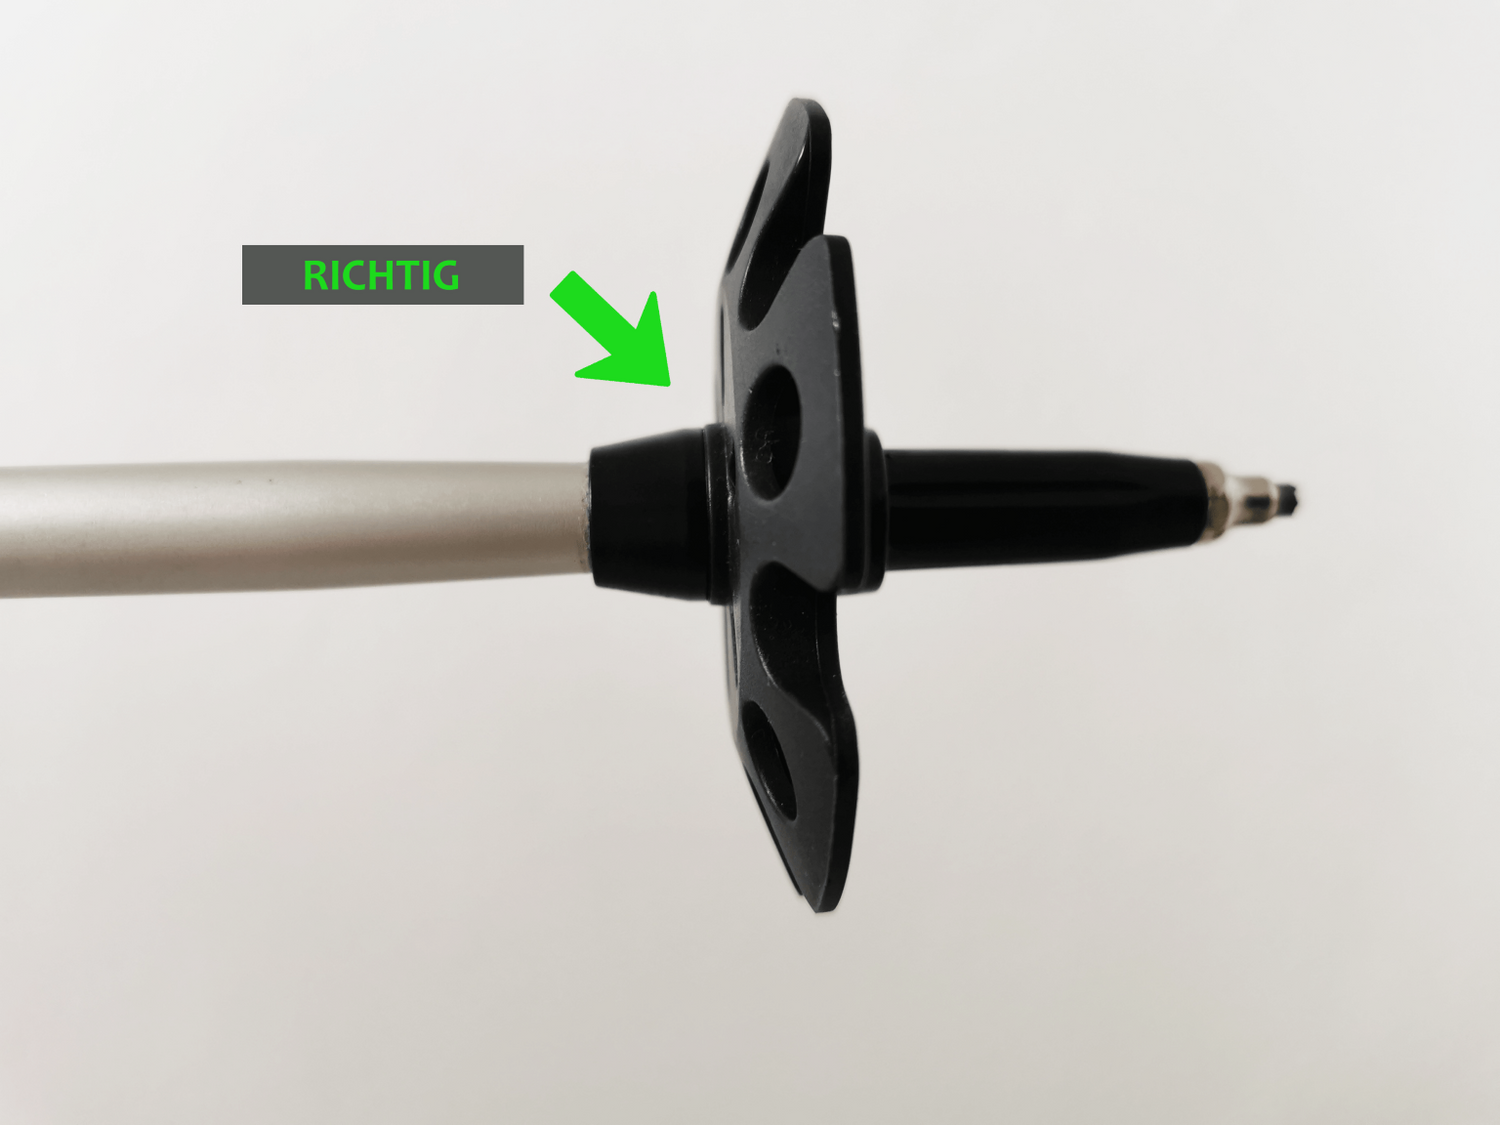
Attachment of snow and mud plates
Attaching snow and mud plates is also very easy. So I take the snow plate/mud plate, guide it through the opening in the middle and turn it until there is no longer a gap between the plate and the tip of the pole.
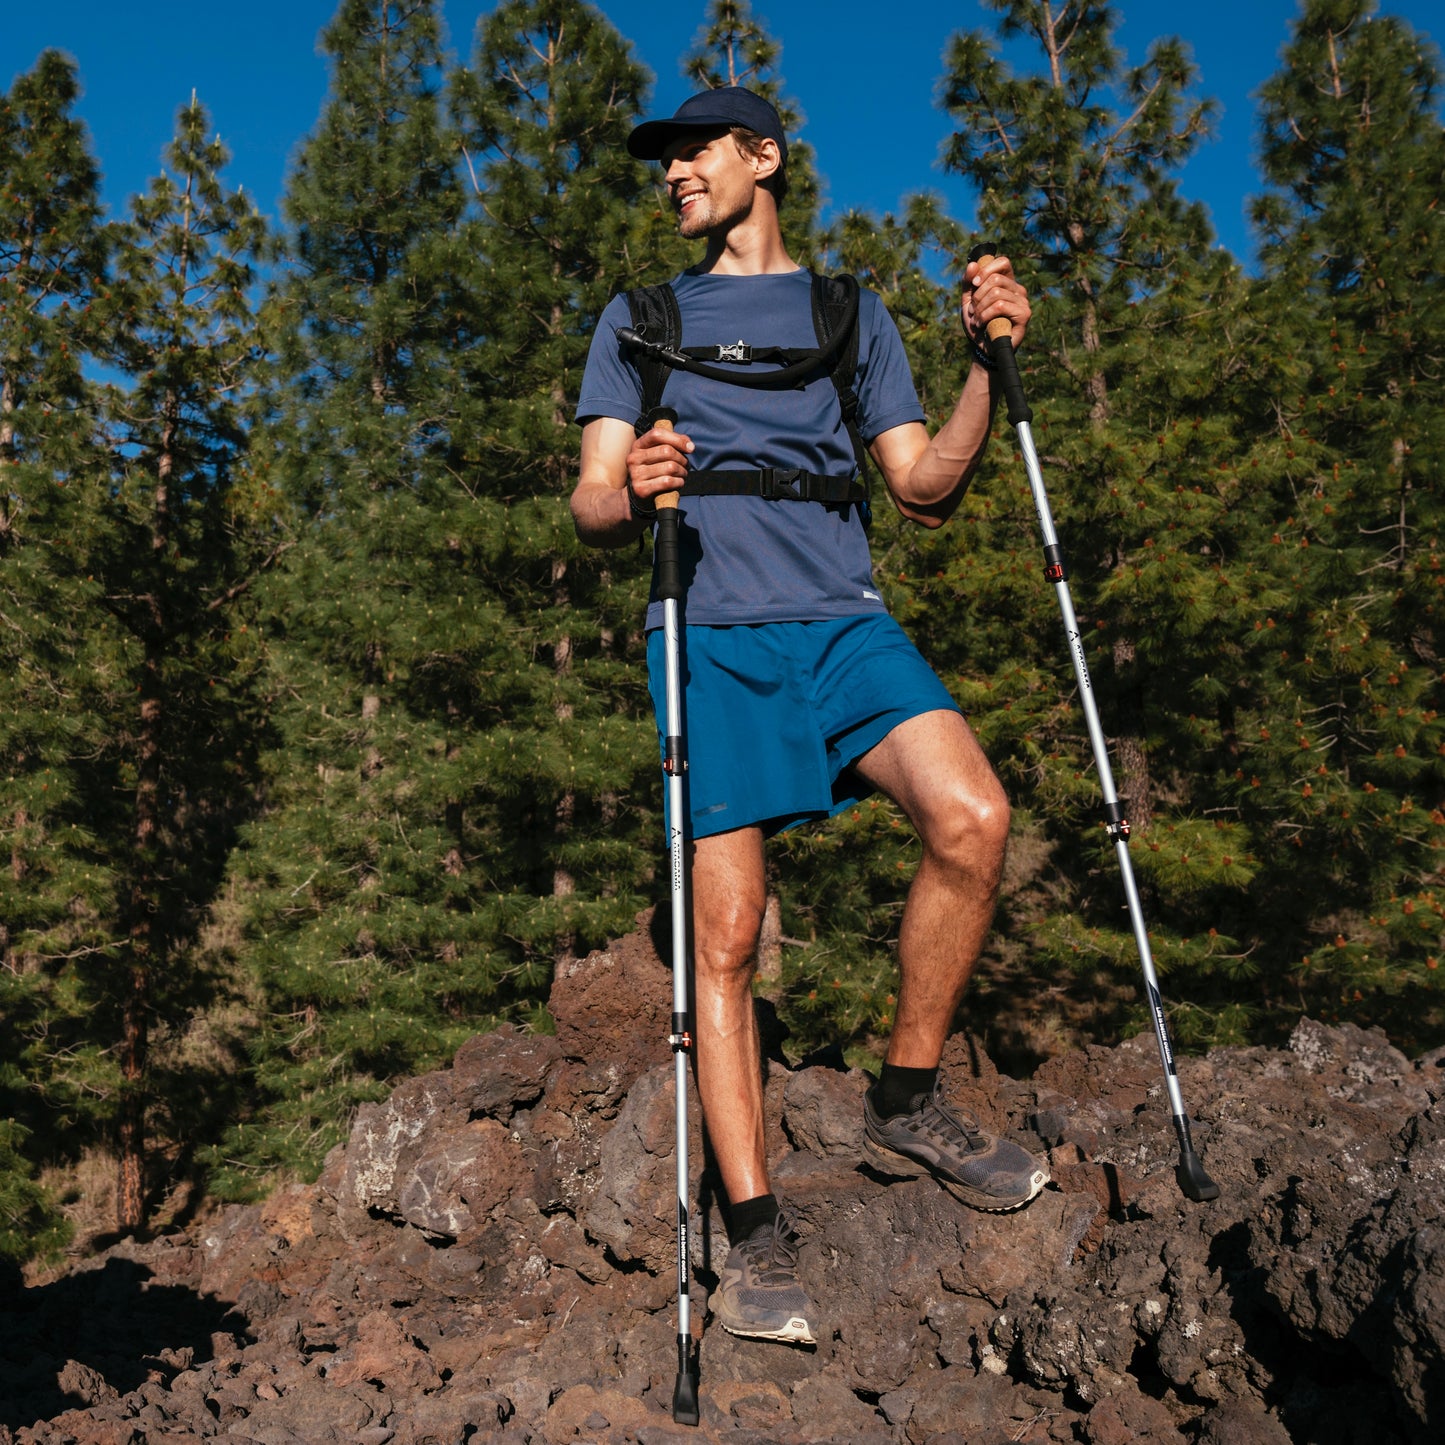
Step 3 - Adjust wrist strap
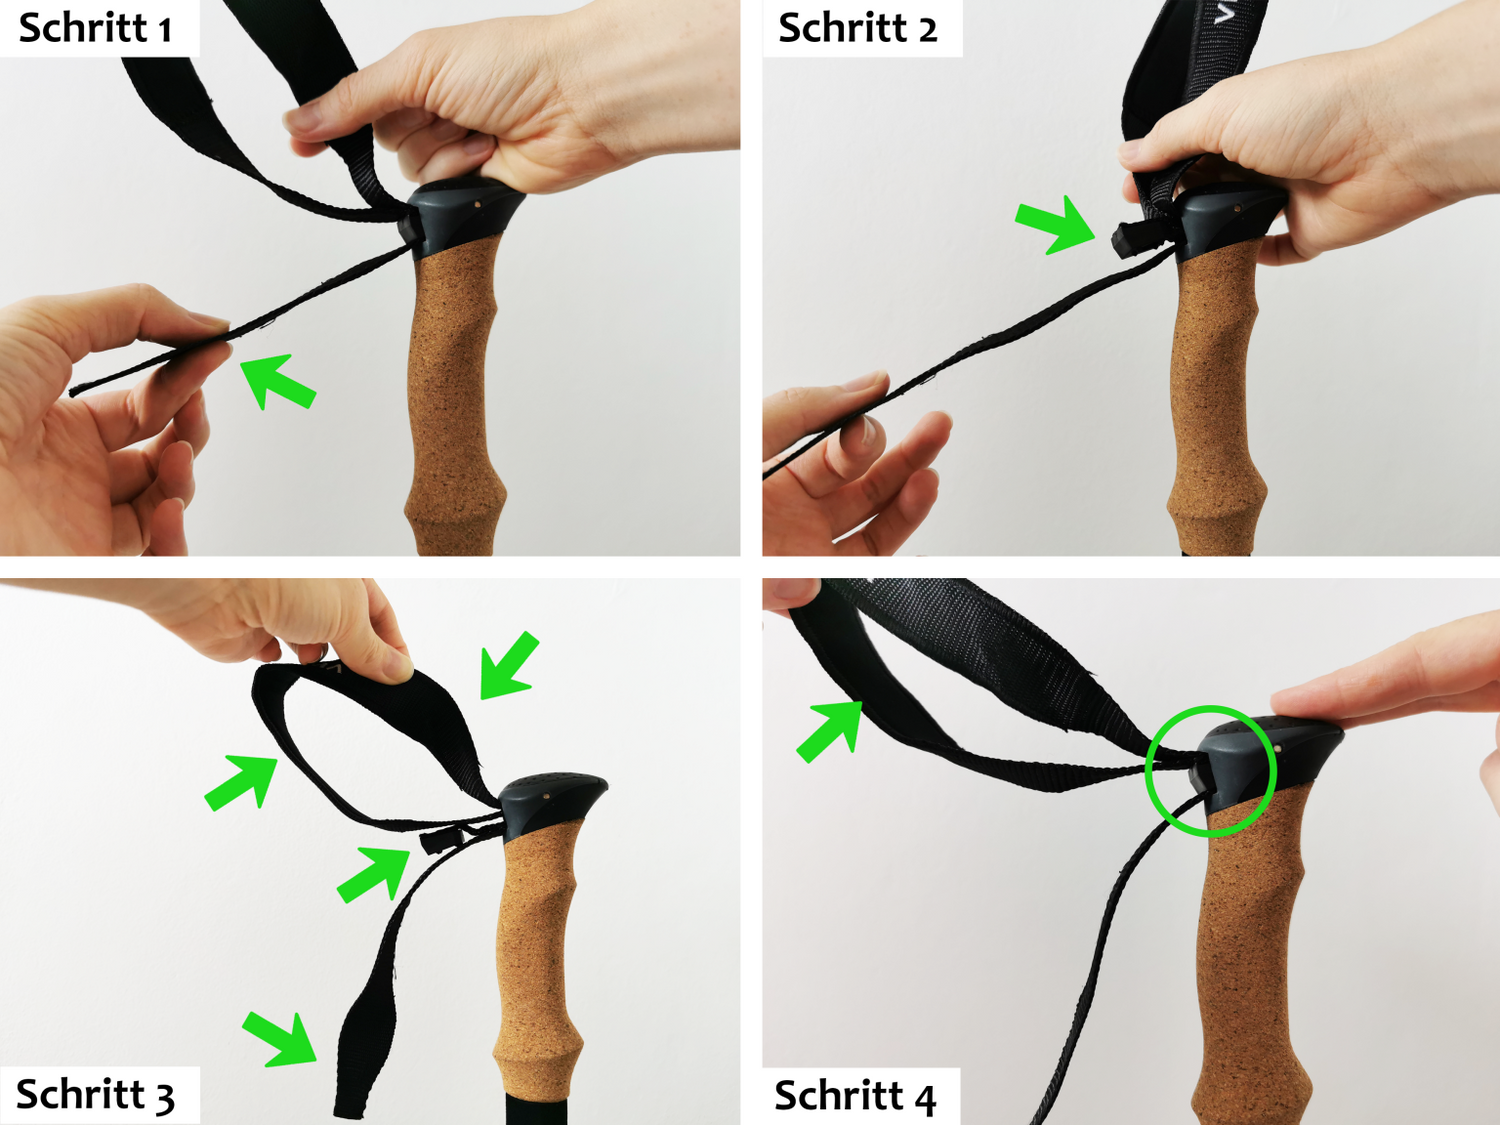
If necessary, the hand straps can be adjusted. 1) To do this, the bottom band is pulled vertically downwards, 2) a "nub" is pushed out. 3) Now the loop can be adjusted by tightening the other straps until the desired size is reached. 4) At the end, the plug is pulled back into the handle (tighten the bottom loop strap).
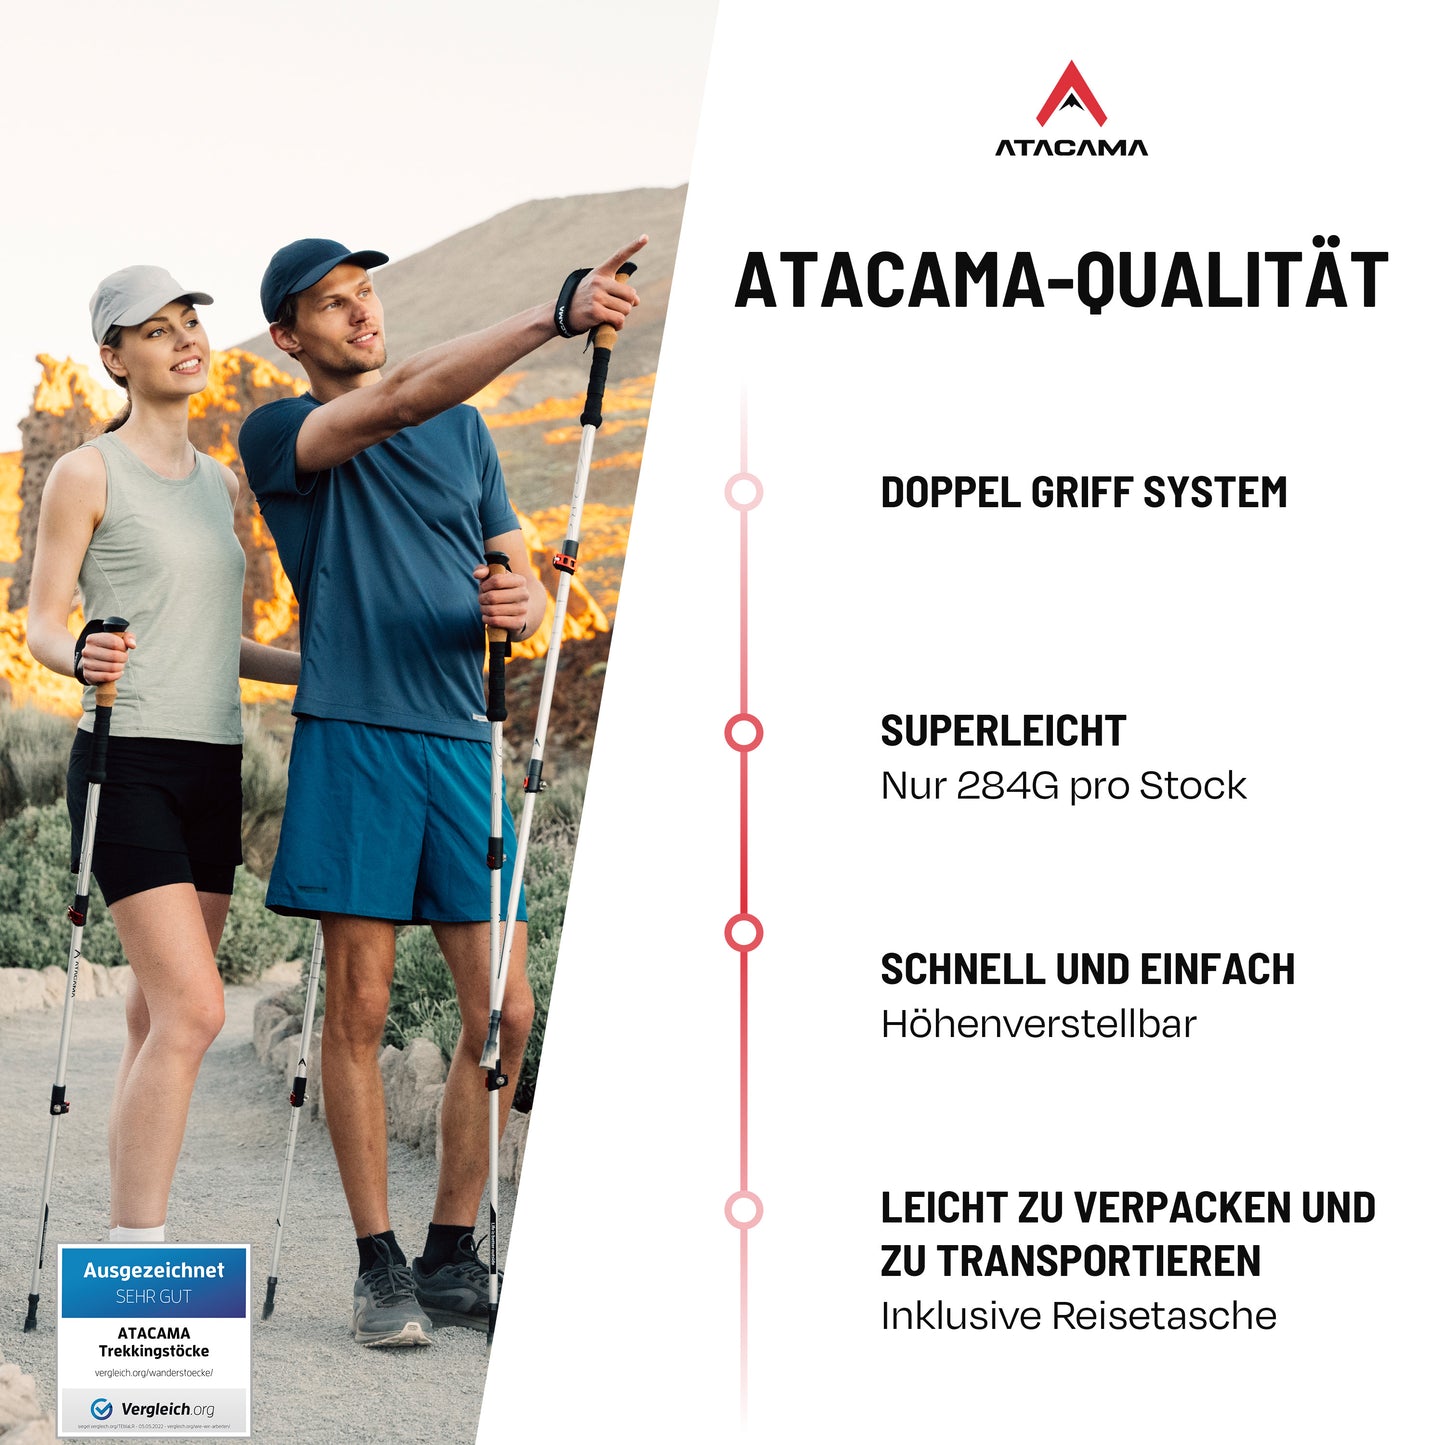
Atacama Outdoor
Aluminum hiking poles for beginners
shares