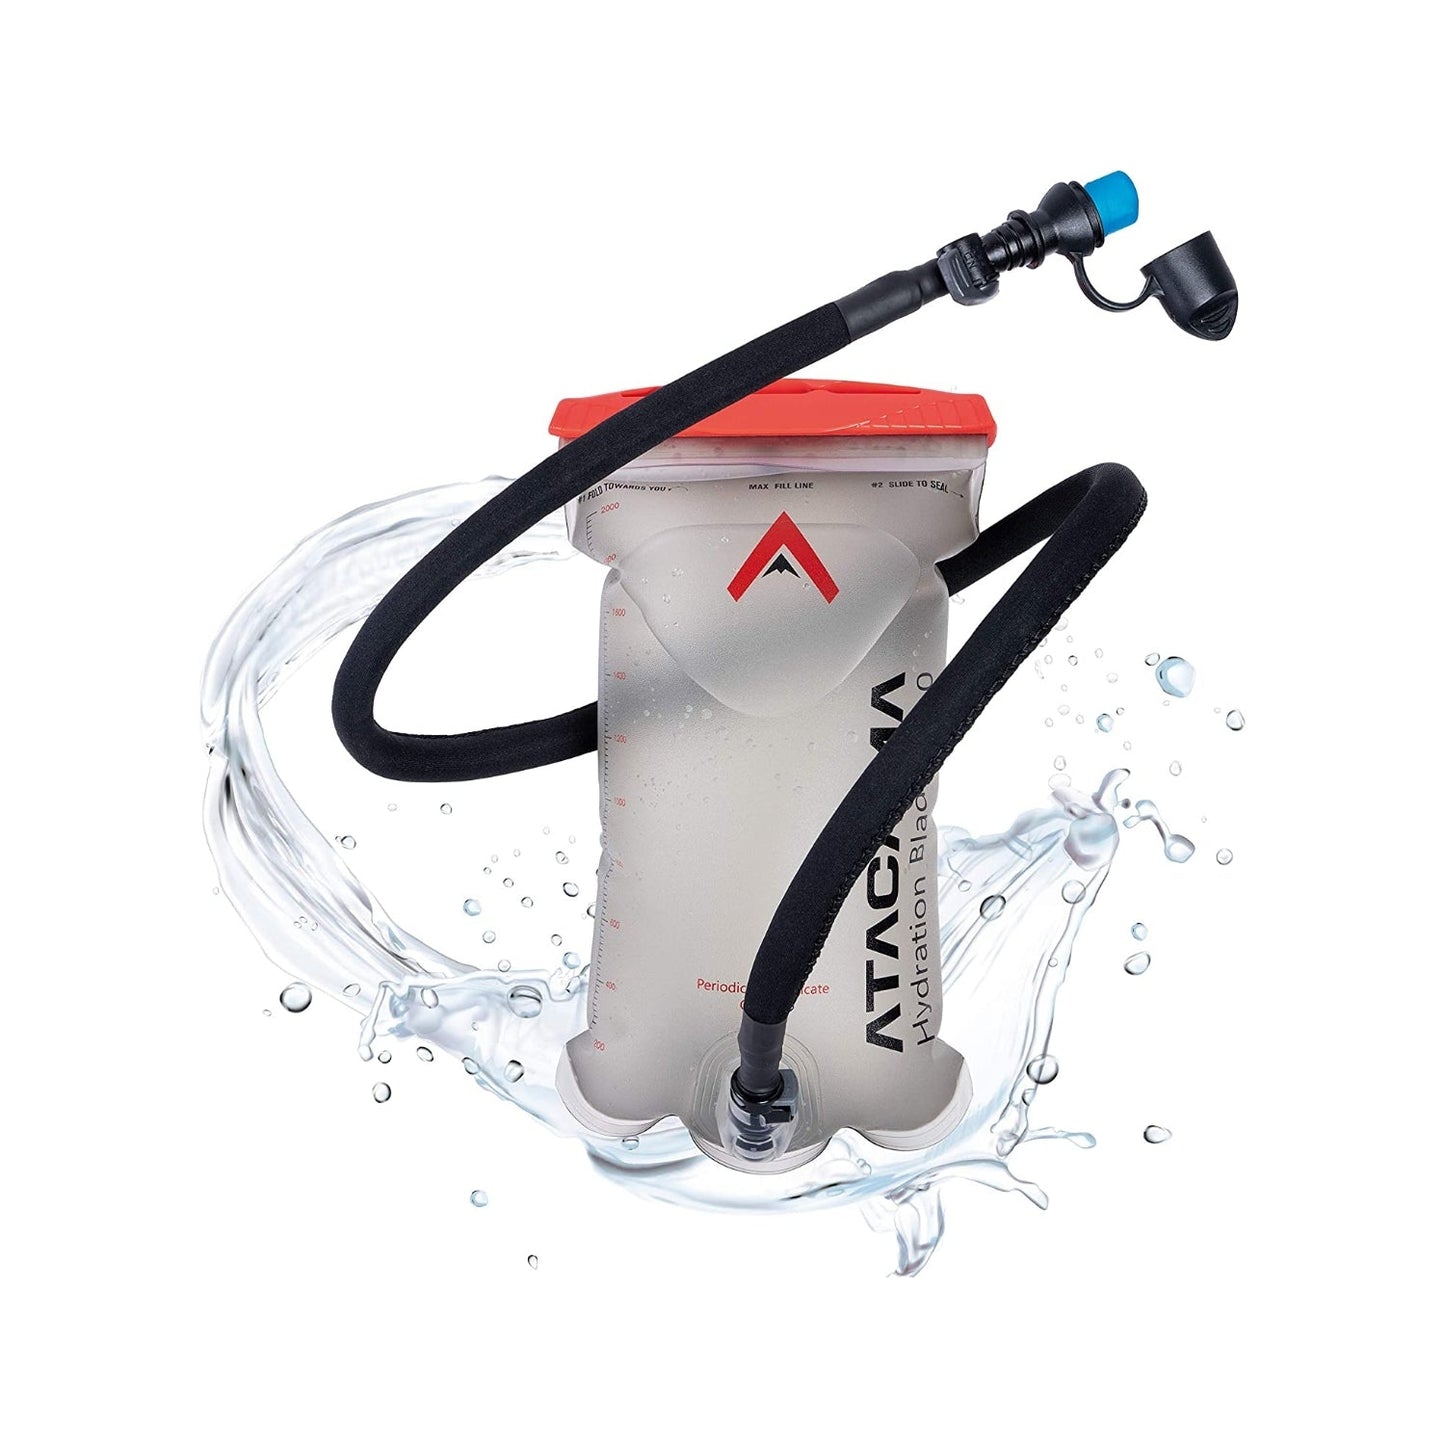
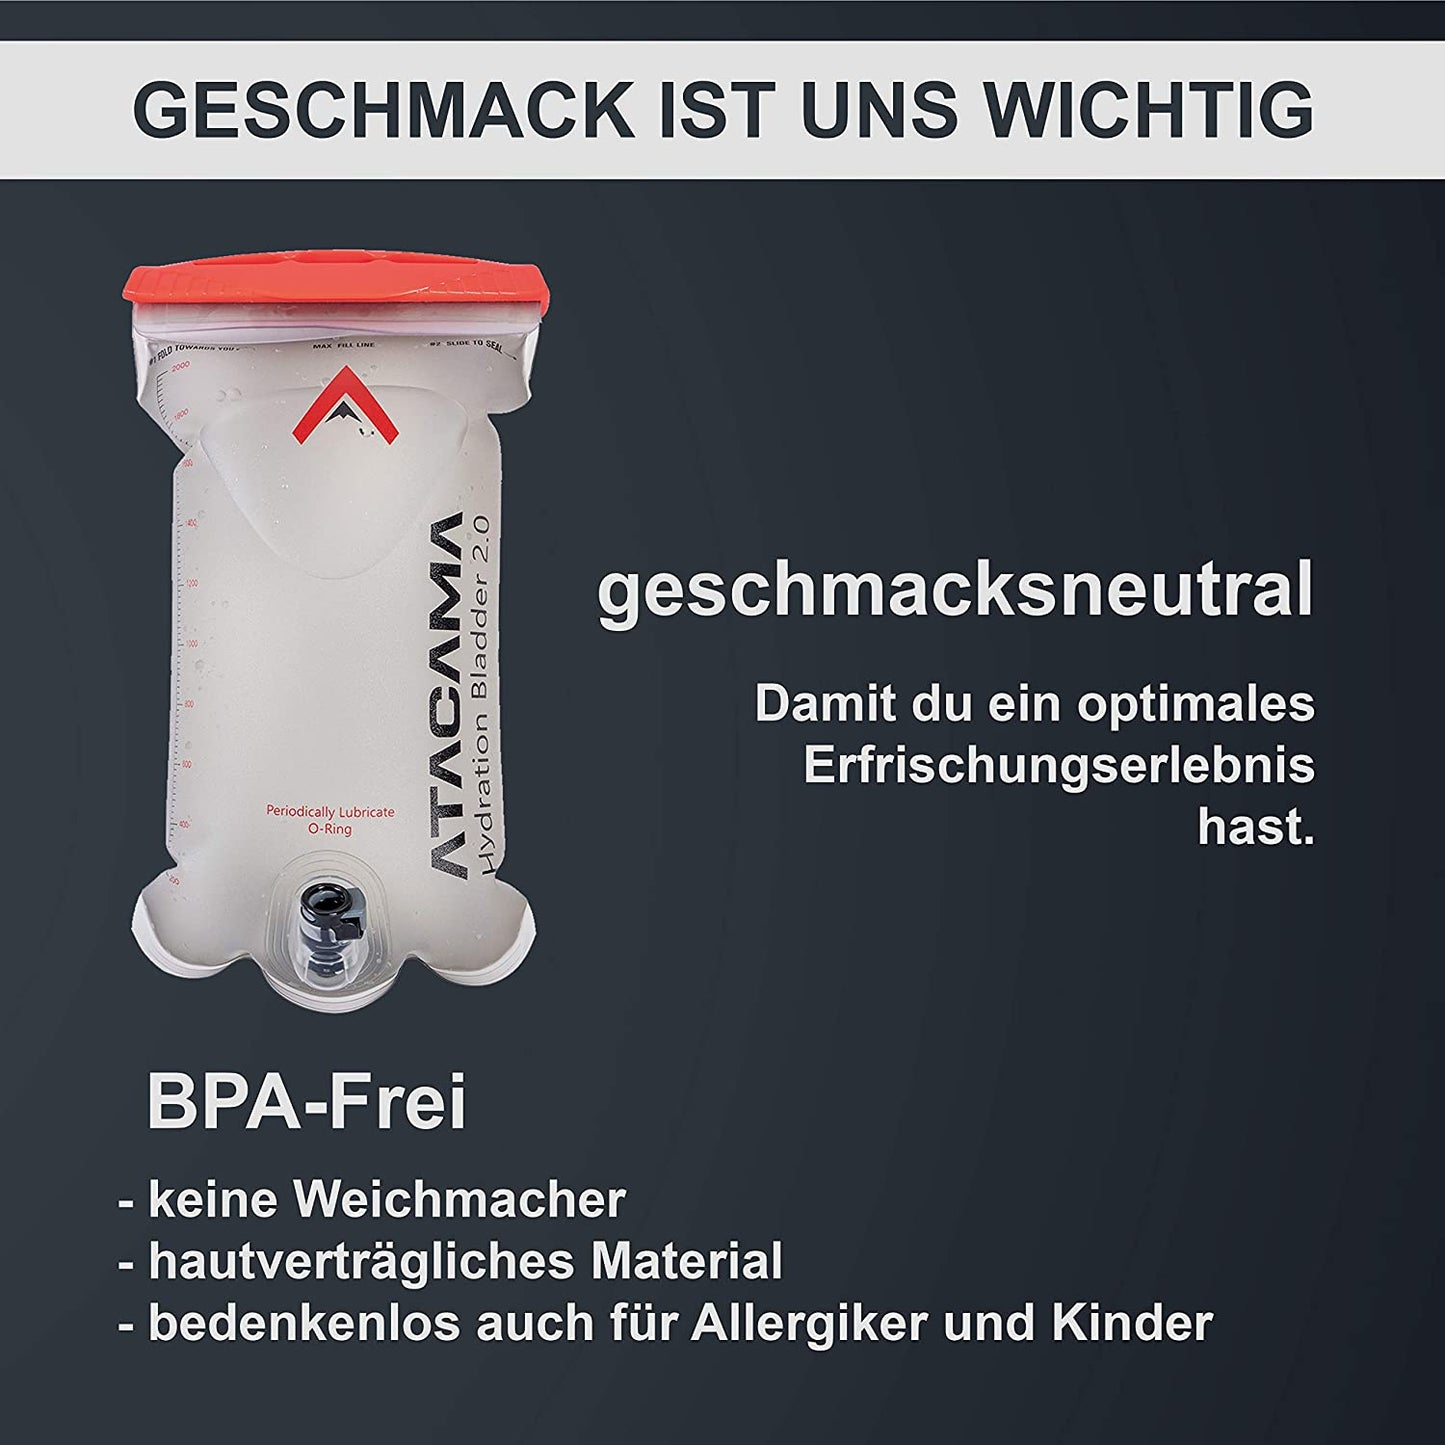
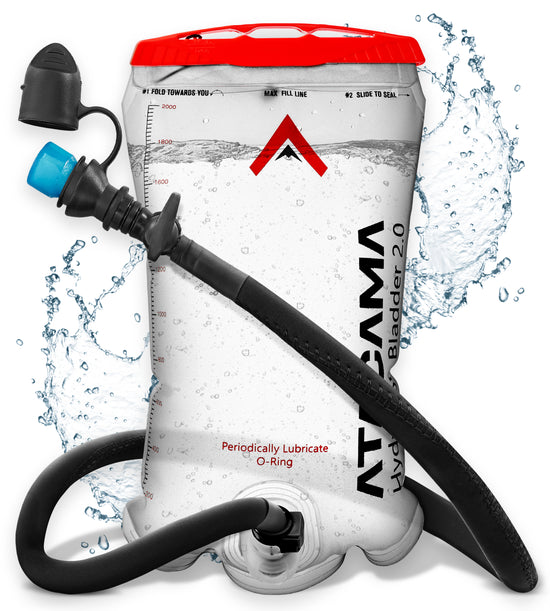
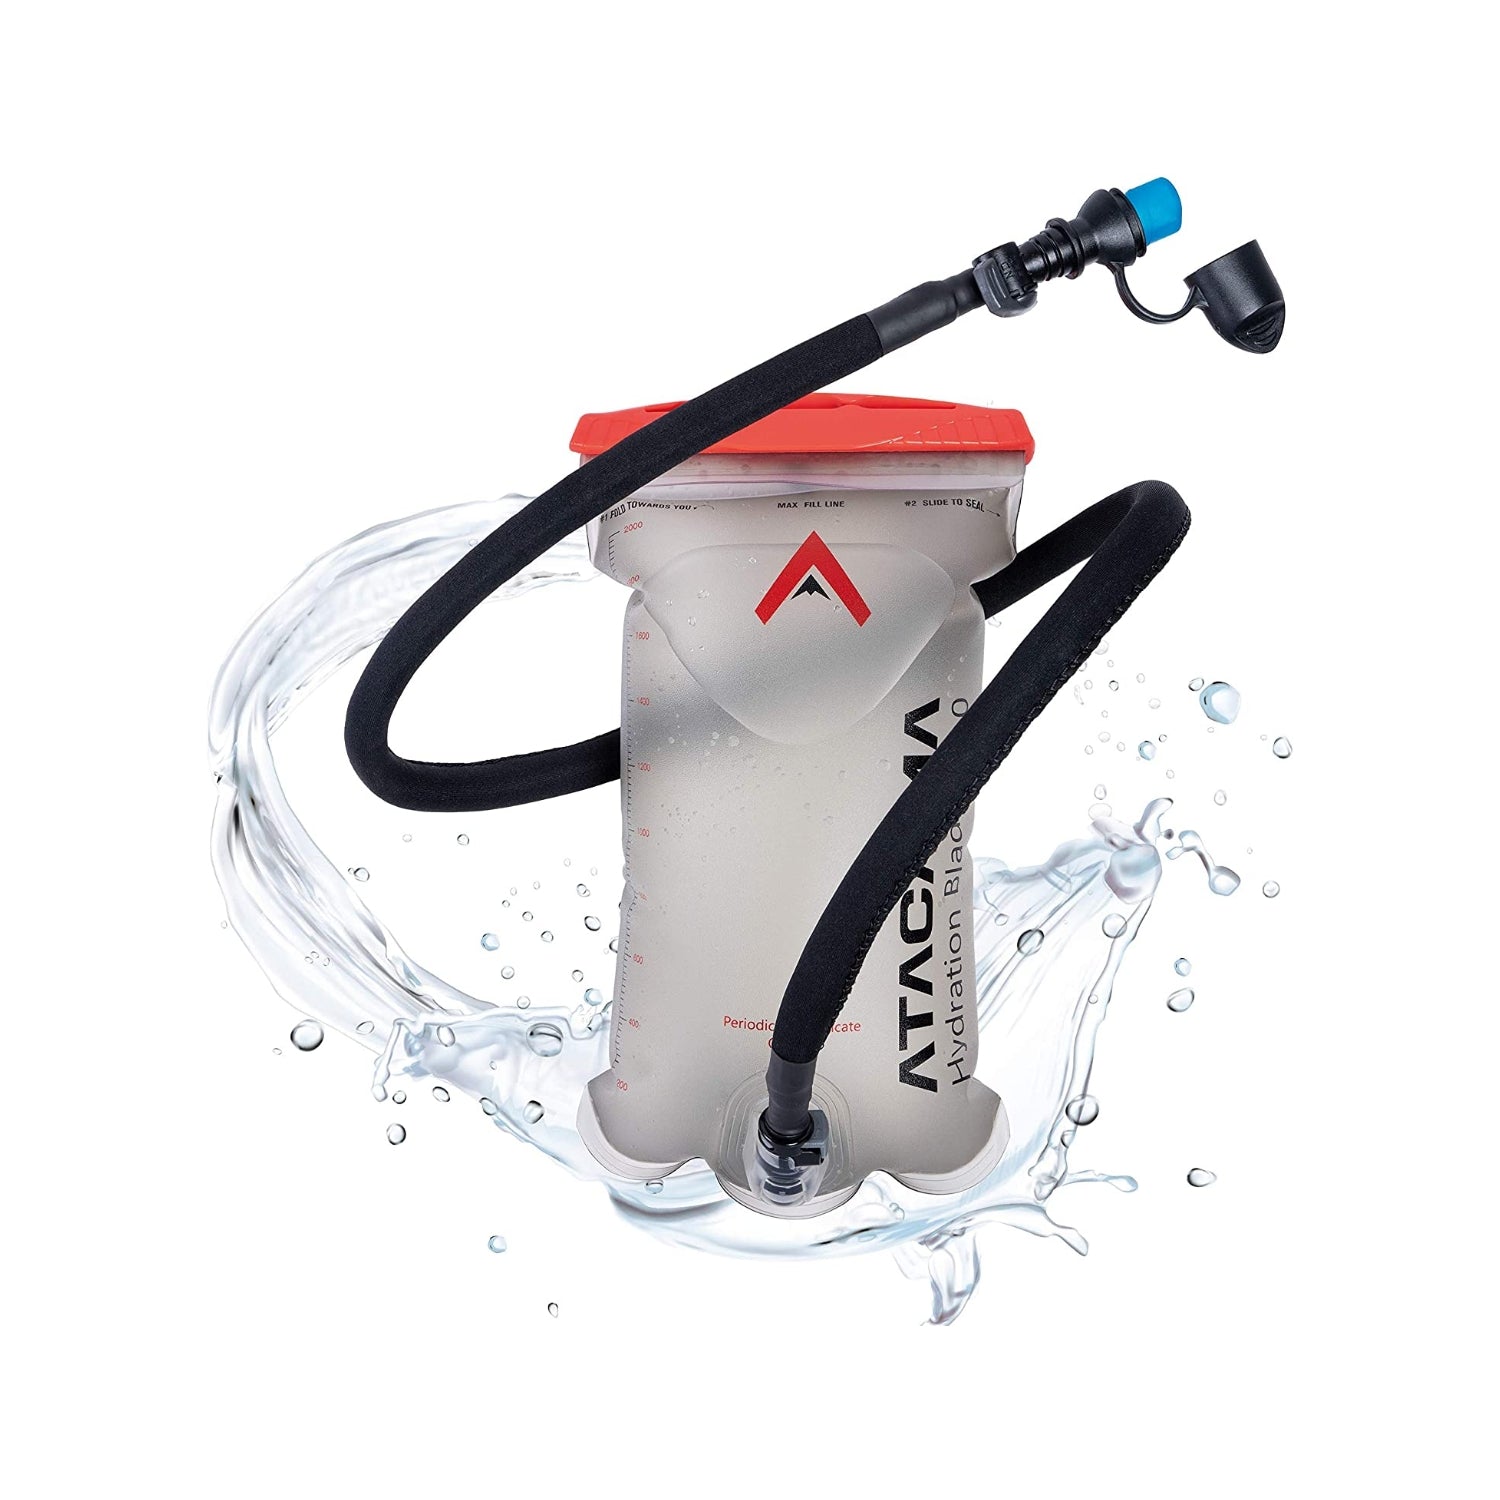
Hydration Bladder 2.0 User Guide
Step 1 - Filling and using the hydration system
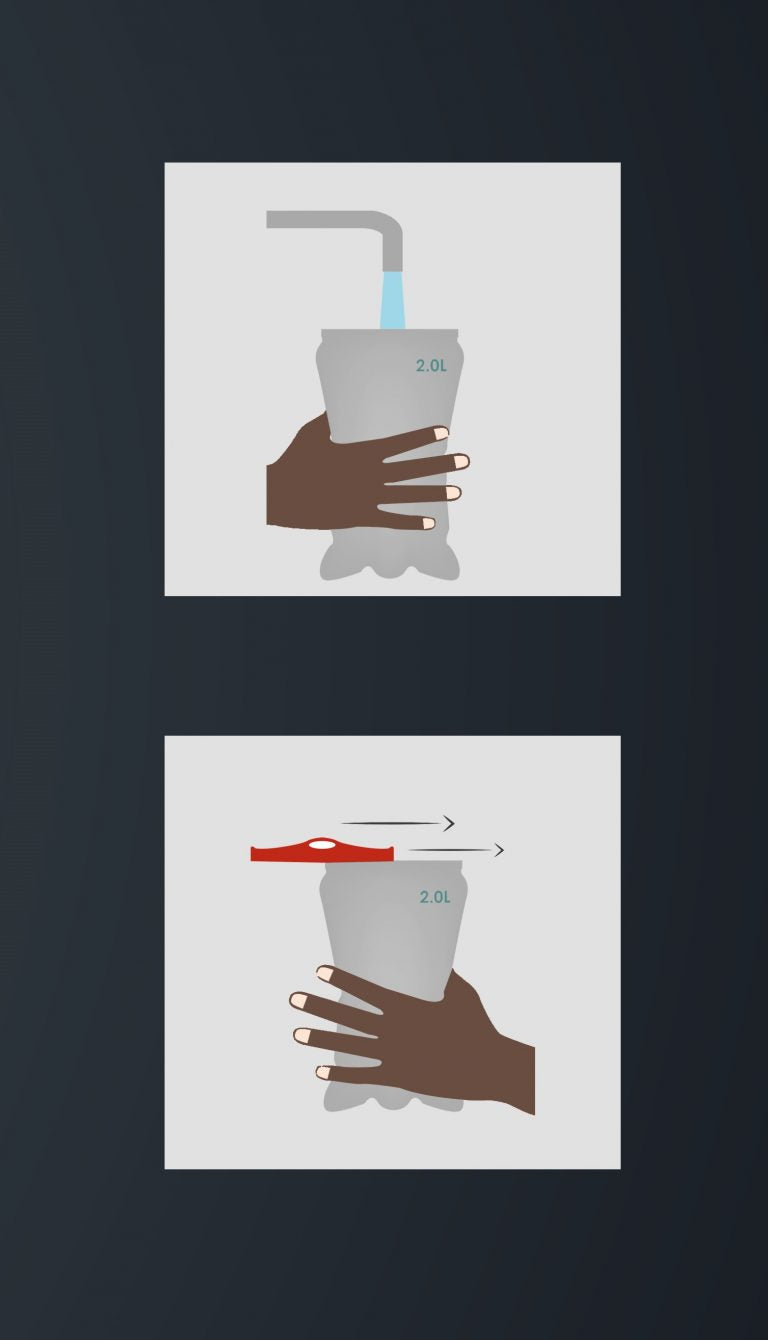
First use:
We recommend rinsing with lukewarm water and a mild detergent.
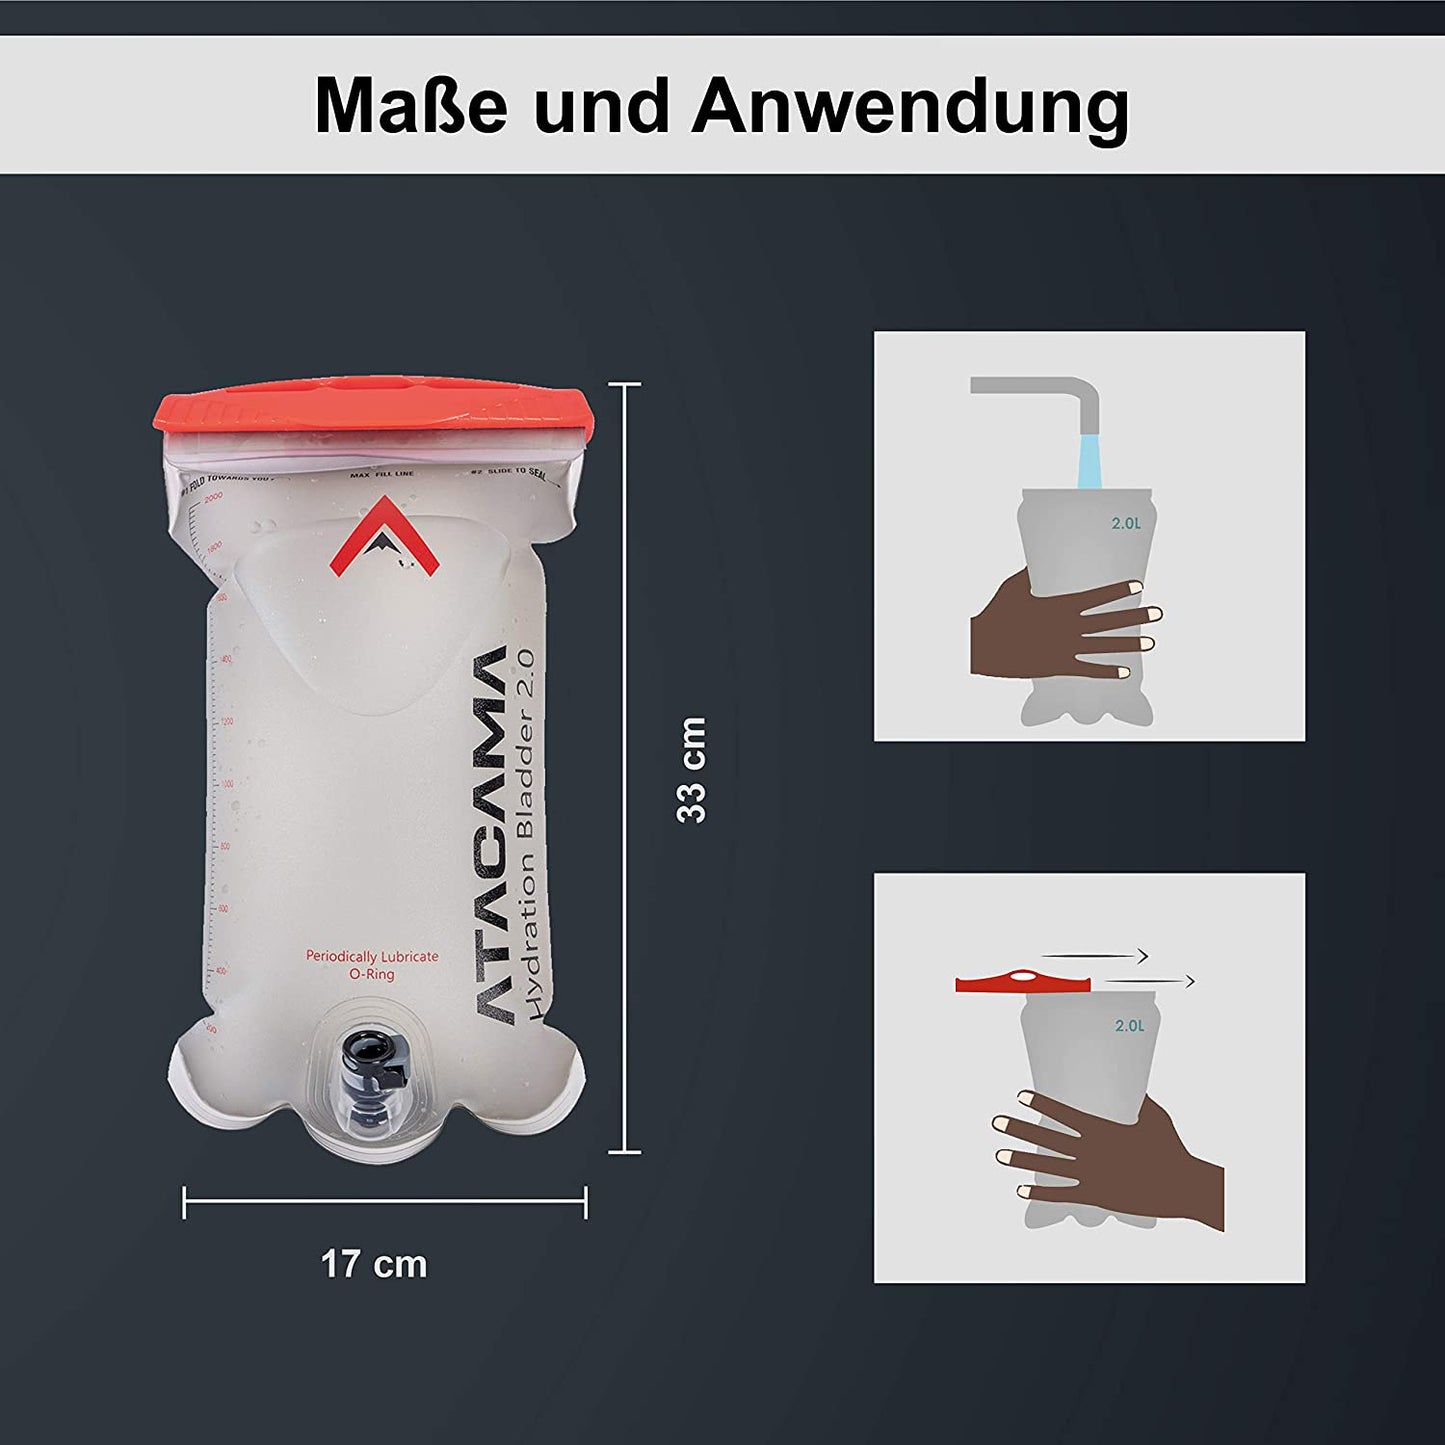
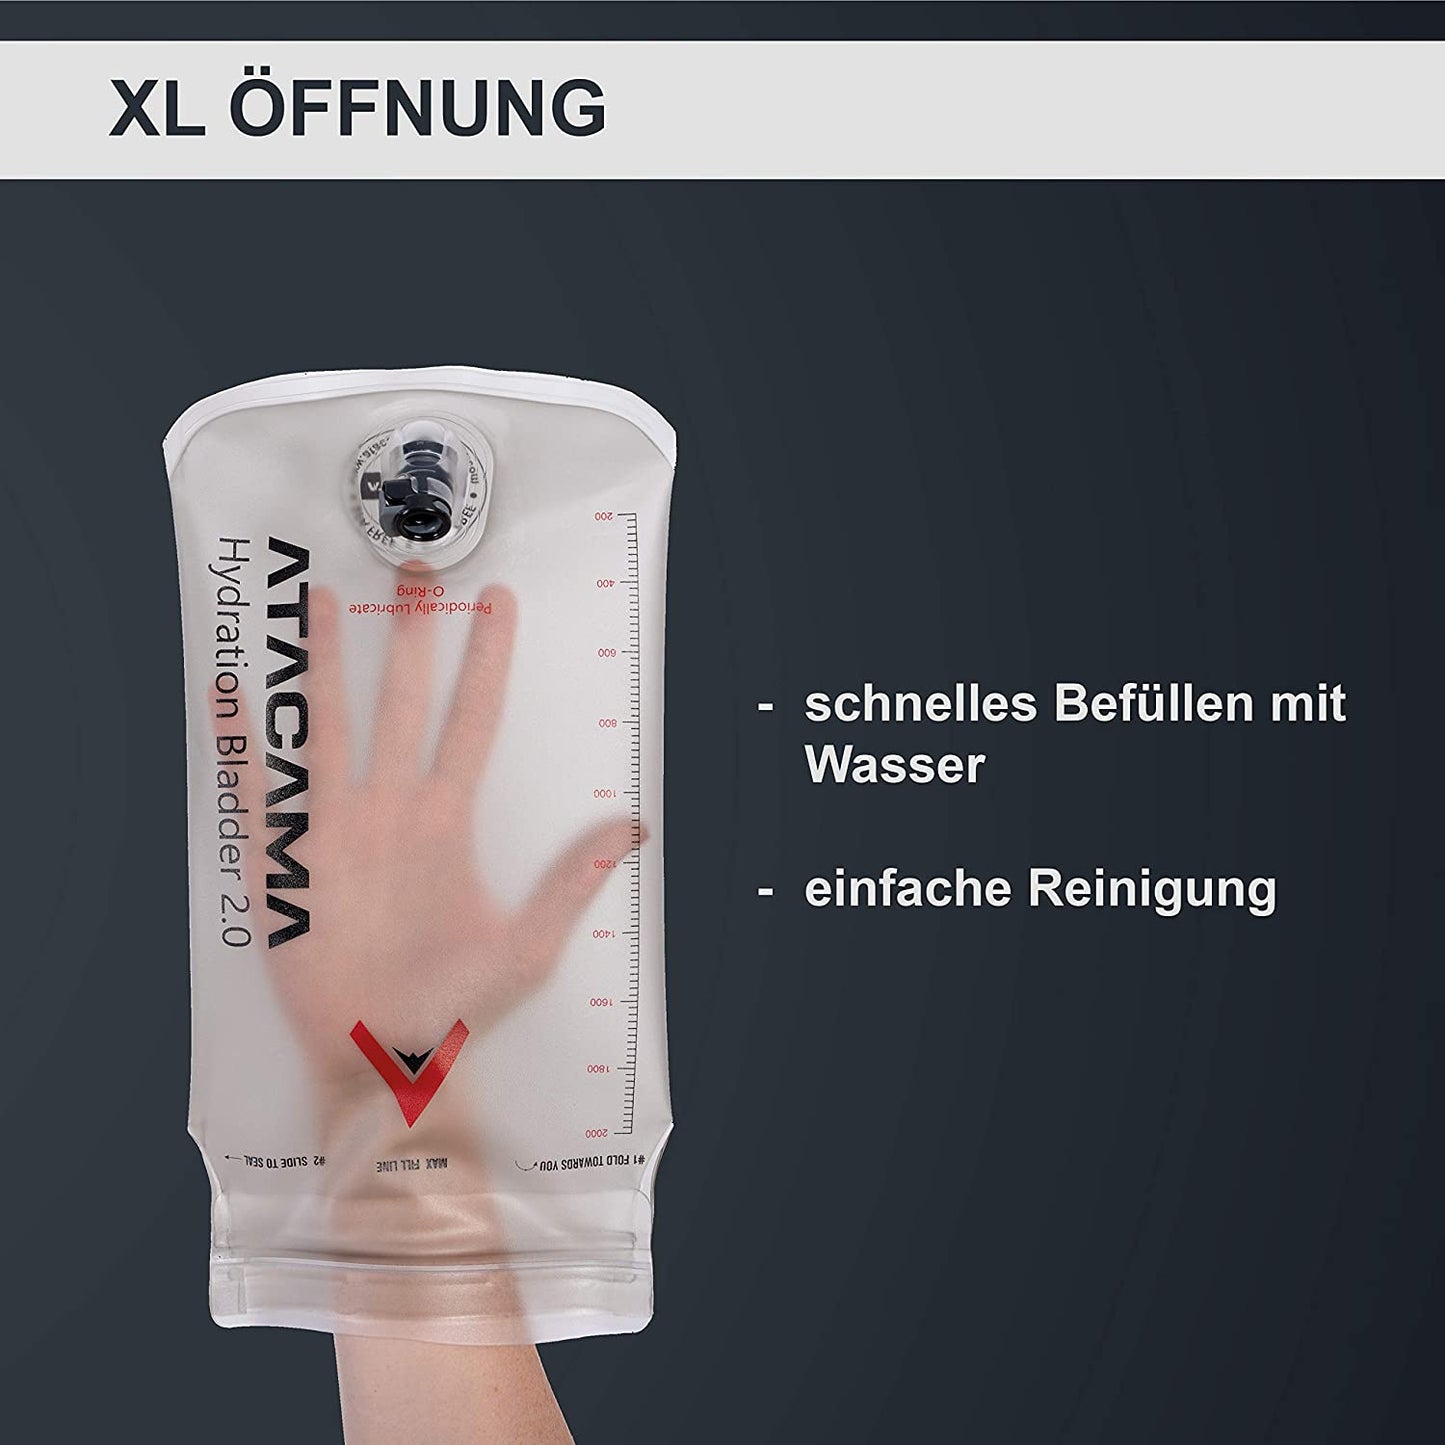
1. Remove the sliding closure and fill the drinking bag with water and possibly add ice cubes.
2. Then close the opening again.
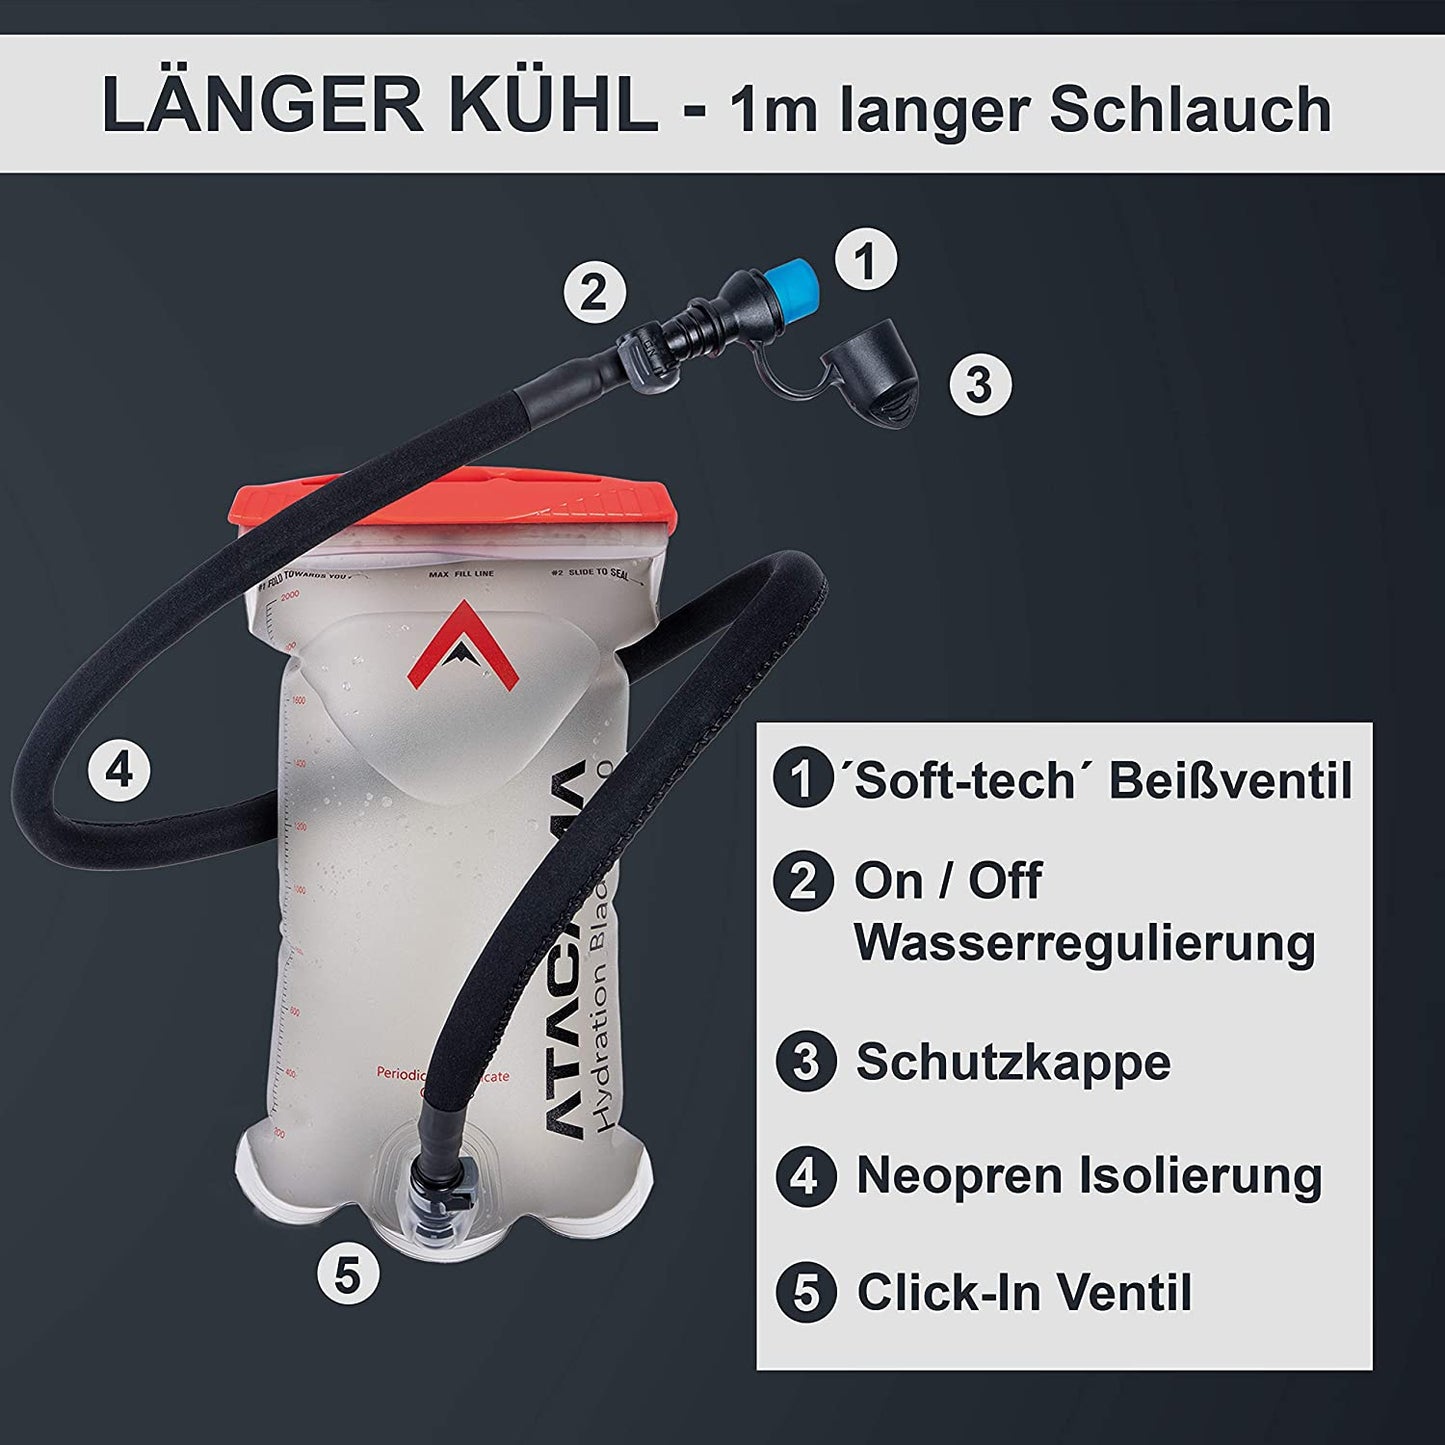
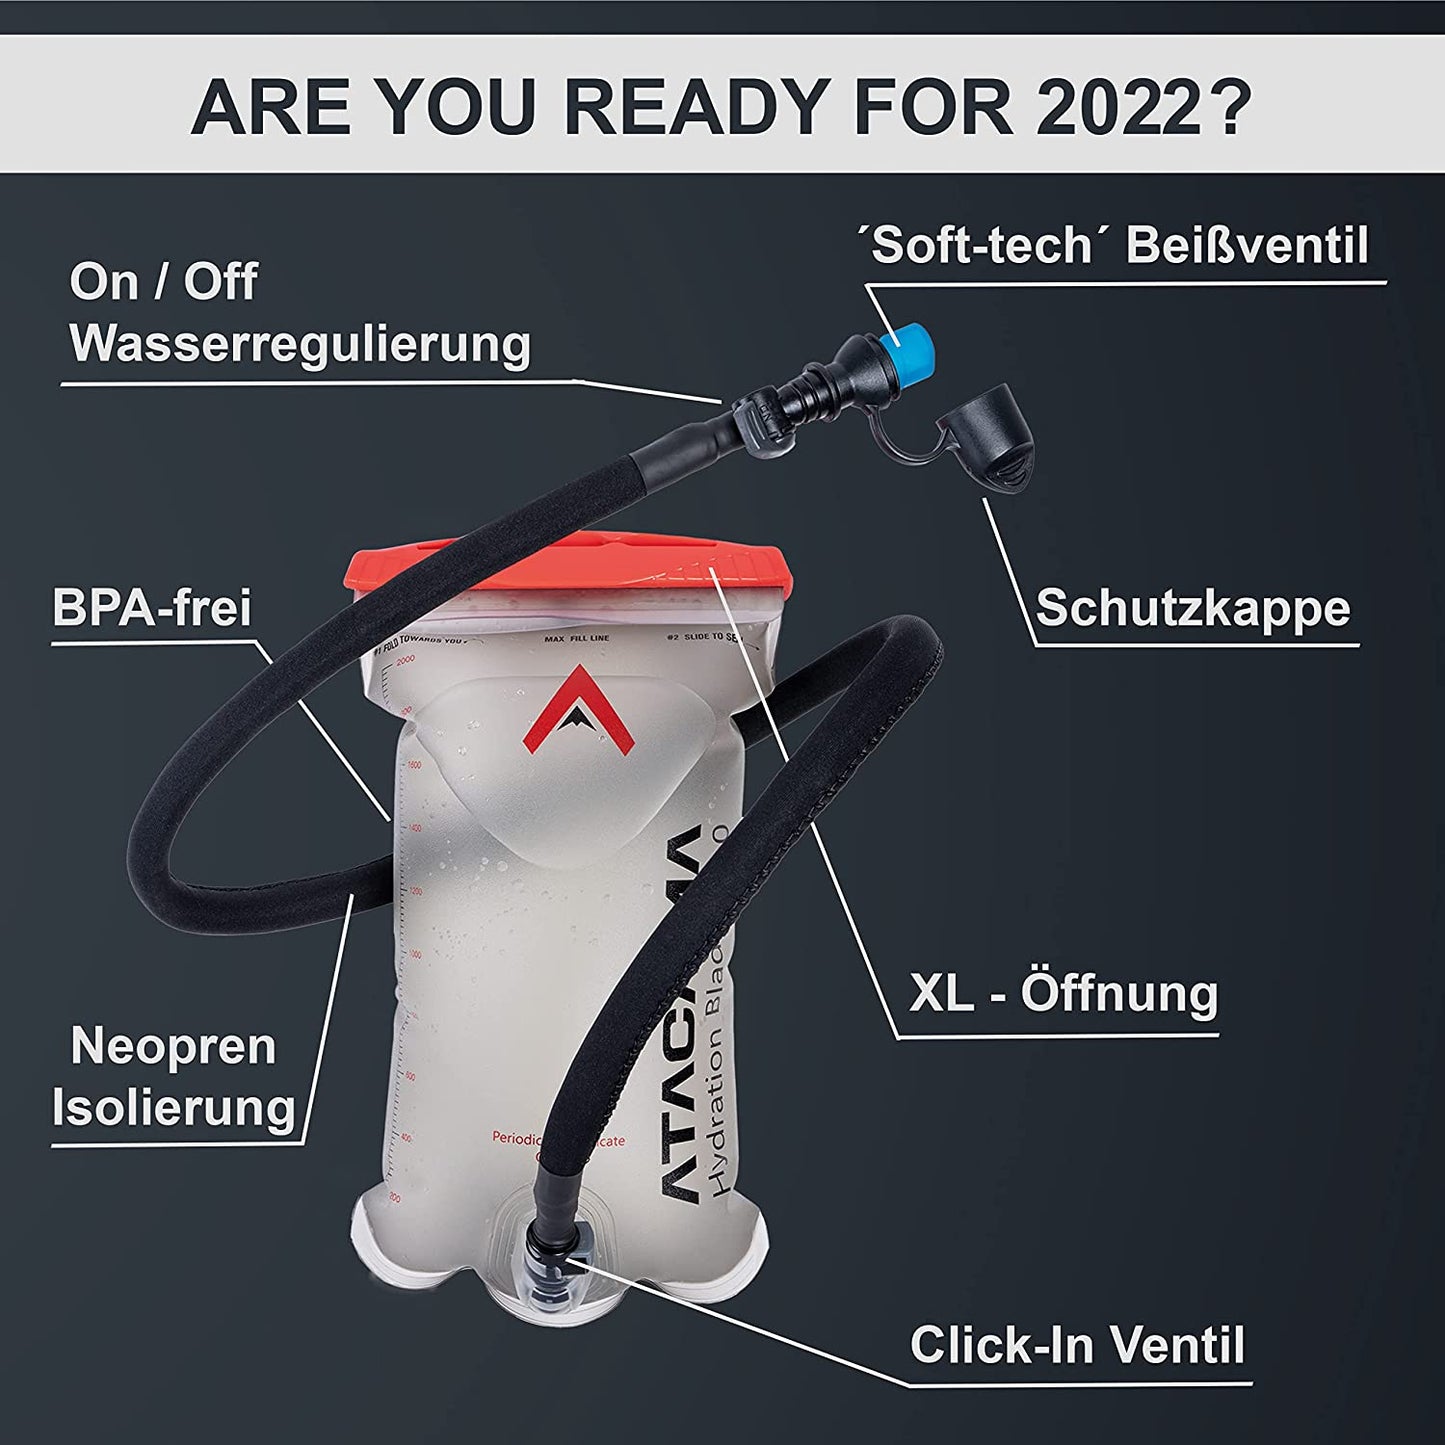
3. The drinking tube is then simply clicked closed with the one-cick mechanism.
4. Check the On / Off water regulator: If you want to drink, set it to "on" and gently squeeze the Soft-tech valve with your teeth and suck in water.
5. If the water regulator is set to "off", you can install the ATACAMA drinking system in your hydration backpack.
Which liquids are suitable: We recommend only filling the bladder with water (non-carbonated). Since sugary drinks could clog the drinking system and the function is no longer guaranteed.
ATTENTION also with carbonated drinks, as these can lead to overpressure and may impair the hydration bladder.
Step 2 - Cleaning the hydration system
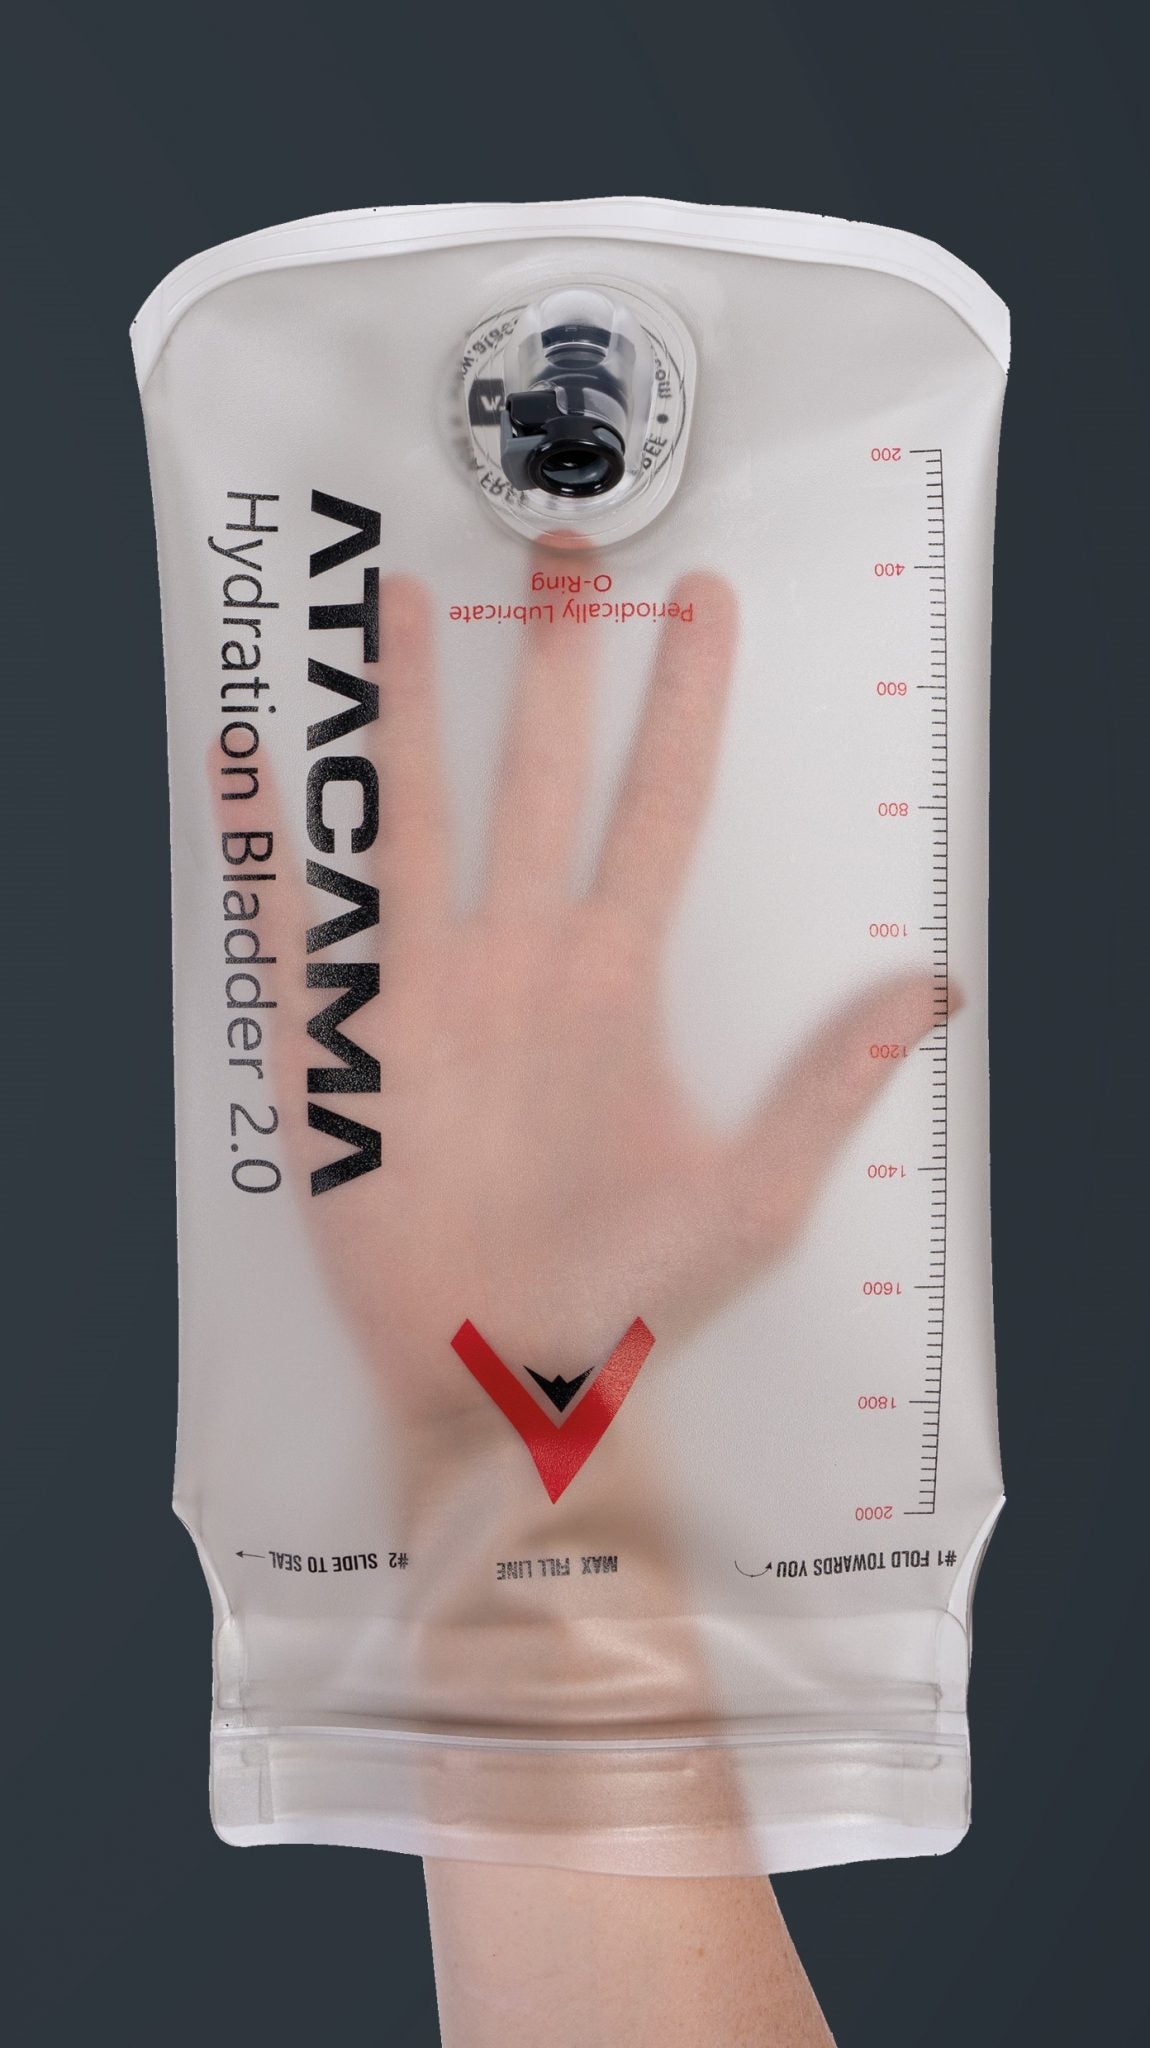
After use, it is best to clean by hand with lukewarm water and a mild detergent.
You can also optionally clean the reservoir in the dishwasher at the lowest temperature and then let it dry (BE CAREFUL with sharp objects such as forks, knives and temperatures that are too high).
Rinse the drinking tube with lukewarm water and let it dry thoroughly.
Dry:
To dry, place the bladder upside down and insert the cap as a ventilation slot
Step 3 - Connecting the drinking tube
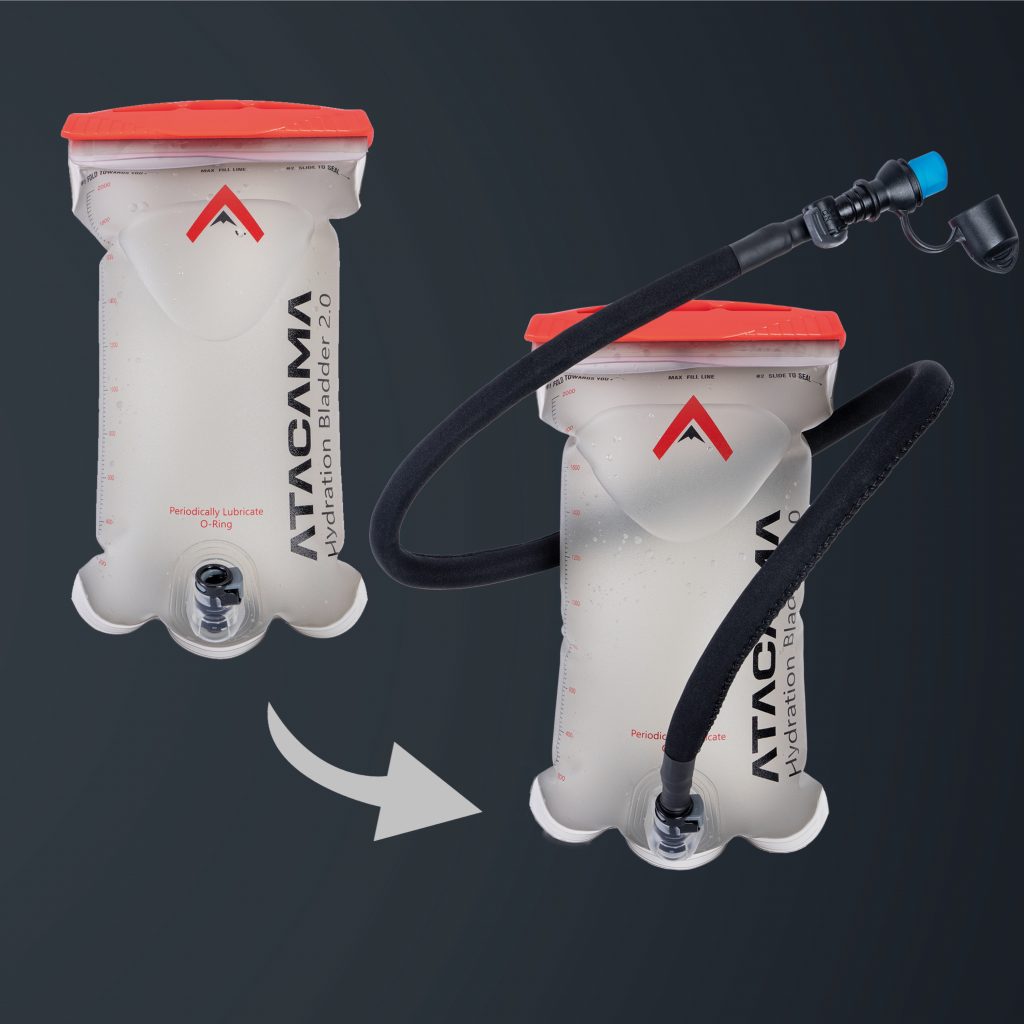
With just one click, the drinking tube is connected to the drinking bag. To remove, simply press the gray button and detach the hose.
Step 4 - Water regulation
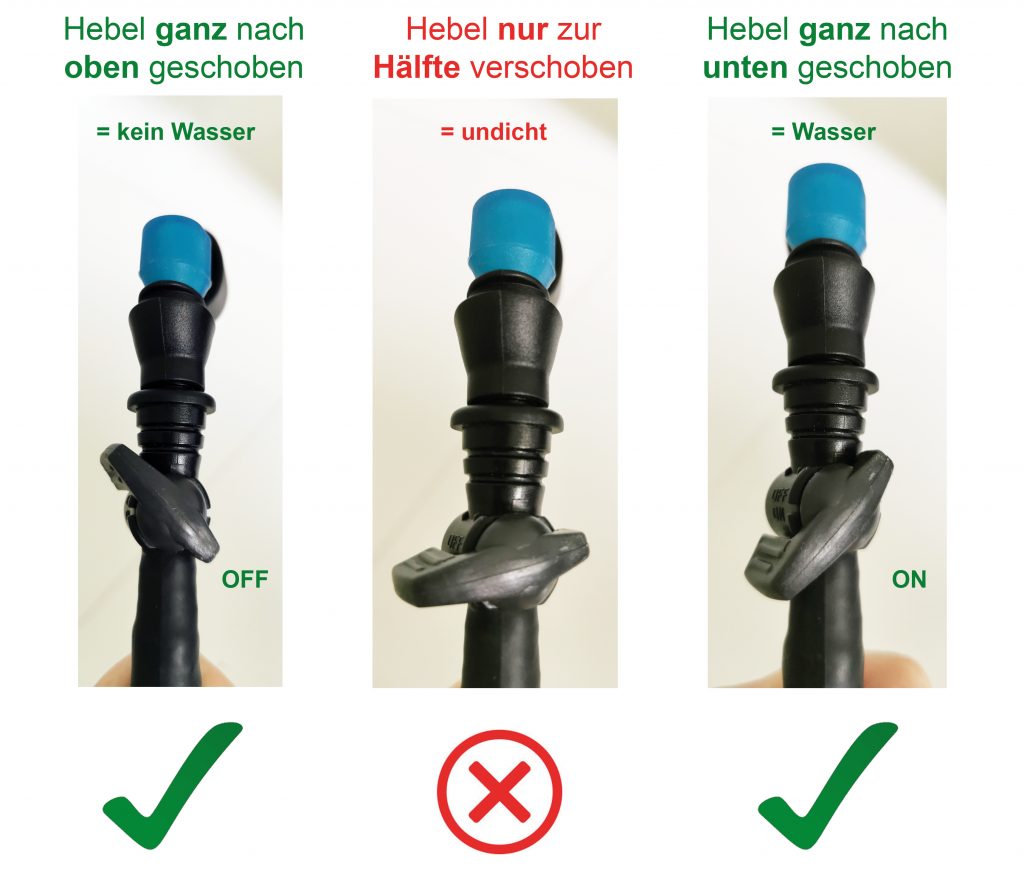
It should be noted here that the on/off lever is turned fully , otherwise water may leak out.
Atacama Outdoor
Hydration bladder 2L
shares
